Residential Damage Assessment
This workflow details the process for entering information in the Residential Damage Assessment form in the Crisis Track mobile app.
-
Select the Incident, then click Collect Data.
-
Select your assigned Team, then select your assigned Task.
-
Click Start.
-
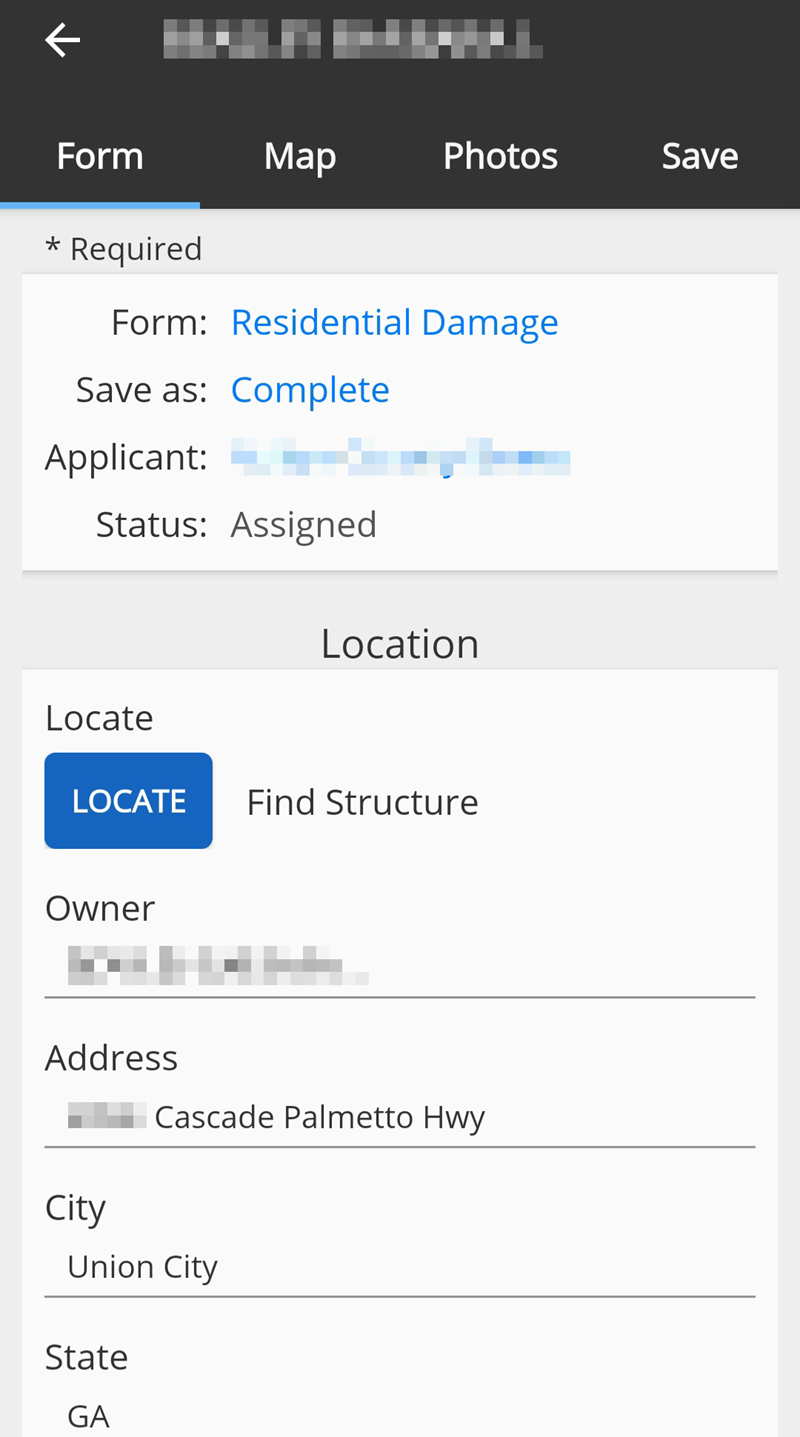
From the Entries screen, either click on an Assigned Entry or click the + button and select the desired form to add a new entry.
-
Change the entry Form type, if needed.
-
Click Locate to locate the closest address. The system will look for the closest GIS address.
The owner name, address, and building value will auto-populate based on the tax parcel data provided by your organization.
-
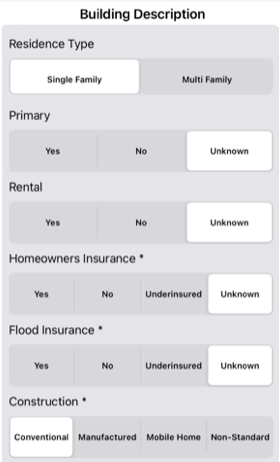
Select a Residence Type: Single Family or Multi Family.
-
Select whether the residence is the homeowner's primary residence, if known.
-
Select whether the residence is a Rental, if known.
-
Select whether the residence has Homeowners Insurance or Flood Insurance, if known.
-
Select the Construction type for the residence.
The FEMA flood zone and the year the residence was built will be auto-populated, if provided in the parcel data.
-
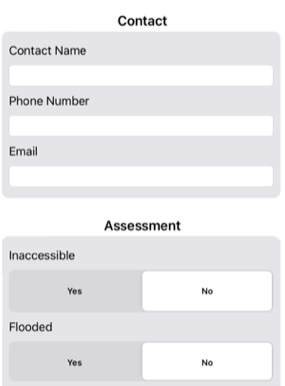
Add contact information, if provided by the resident.
-
Indicate whether the property is accessible by first responders.
-
Indicate whether the property is flooded. If yes, additional fields will appear to enter basement flood and ground flood heights.
-
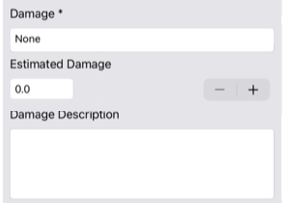
Select the Damage level.
The Estimated Damage will automatically calculate based on the building value and selected damage level.
-
Provide a description of the damage.
-
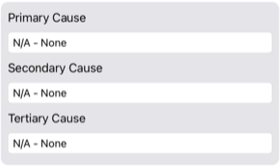
Set up to three causes of the damage.
-
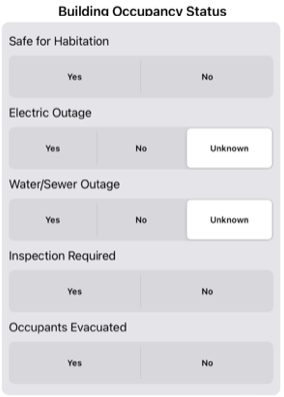
Indicate whether the residence is safe for habitation, if there is an electric or water/sewage outage, if an inspection is required, or if occupants have evacuated.
-
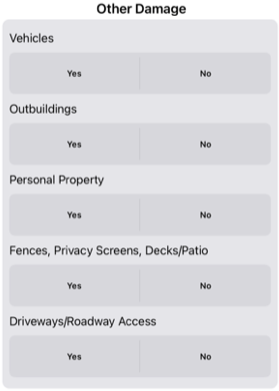
Indicate if there are damages to vehicles, outbuildings, personal property, fences, privacy screens, decks/patios, or driveways/roadways.
-
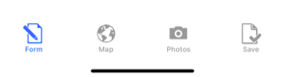
When you have finished completing all the fields, use the buttons at the bottom of the screen to do the following:
-
View/edit the form to review.
-
View the location on a map.
-
Take a photo of damage.
-
Save and upload the assessment.
-