Board components are the user interface elements that you add to a board. In DesignStudio, components appear in Design mode, on the Components tray.
In Design mode, you design the board and drag components to the canvas. For information about available components, their settings, and their toolbars, see Board Components List.
To add components to a board
-
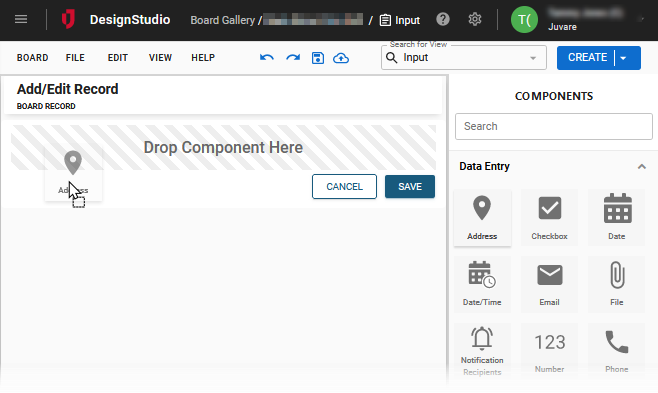
With your board open on the Board Workspace, drag the components onto the canvas. You can have up to four components side-by-side in the form. In the following example, the Address component is dropped.

-
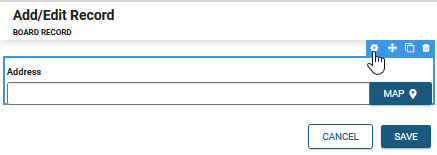
In the settings window that appears, on the Settings tab, enter the setting information, and then click Done. For details about the settings, see Board Components List.
if you need to return back to this window, click the component on the canvas, and then click the settings icon on the top right of the component.

-
Repeat steps 1 and 2 to add additional components until your board design is complete. As you drag the component over the canvas, a green line indicates where the component will be inserted.
-
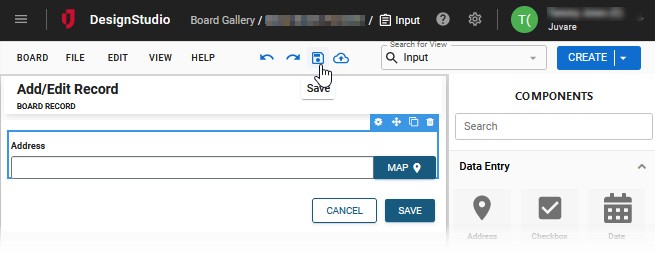
Above the canvas, click Save.

The Cancel and Save buttons that appear on the canvas at the bottom of the board are for display only. They provide a visualization of what the buttons will look like on the WebEOC board. They do not save any work in DesignStudio