Add a Resource to a Board
To add a resource to a board in the Board Workspace
-
In the Board Gallery, locate the board for which you want to add a resource, and then click Design.
-
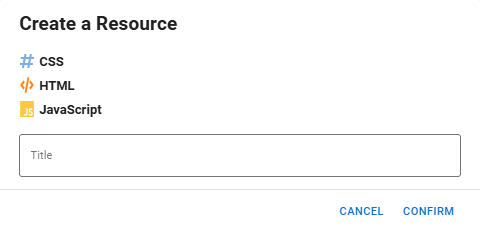
On the upper right, click Create > Board Resource. The Create a Resource window opens.
-
Select the scripting language.
-
Enter a name for the resource in the Title field.
-
Click Confirm.
The newly created resource displays under Resources on the left.
Clicking the more icon ![]() to the right of the resource name allows you to:
to the right of the resource name allows you to:
-
Rename the resource
-
Delete the resource
-
Copy the board resource link. The link is copied to your clipboard. You can embed the link in Code Mode to reuse the resource in other boards.
