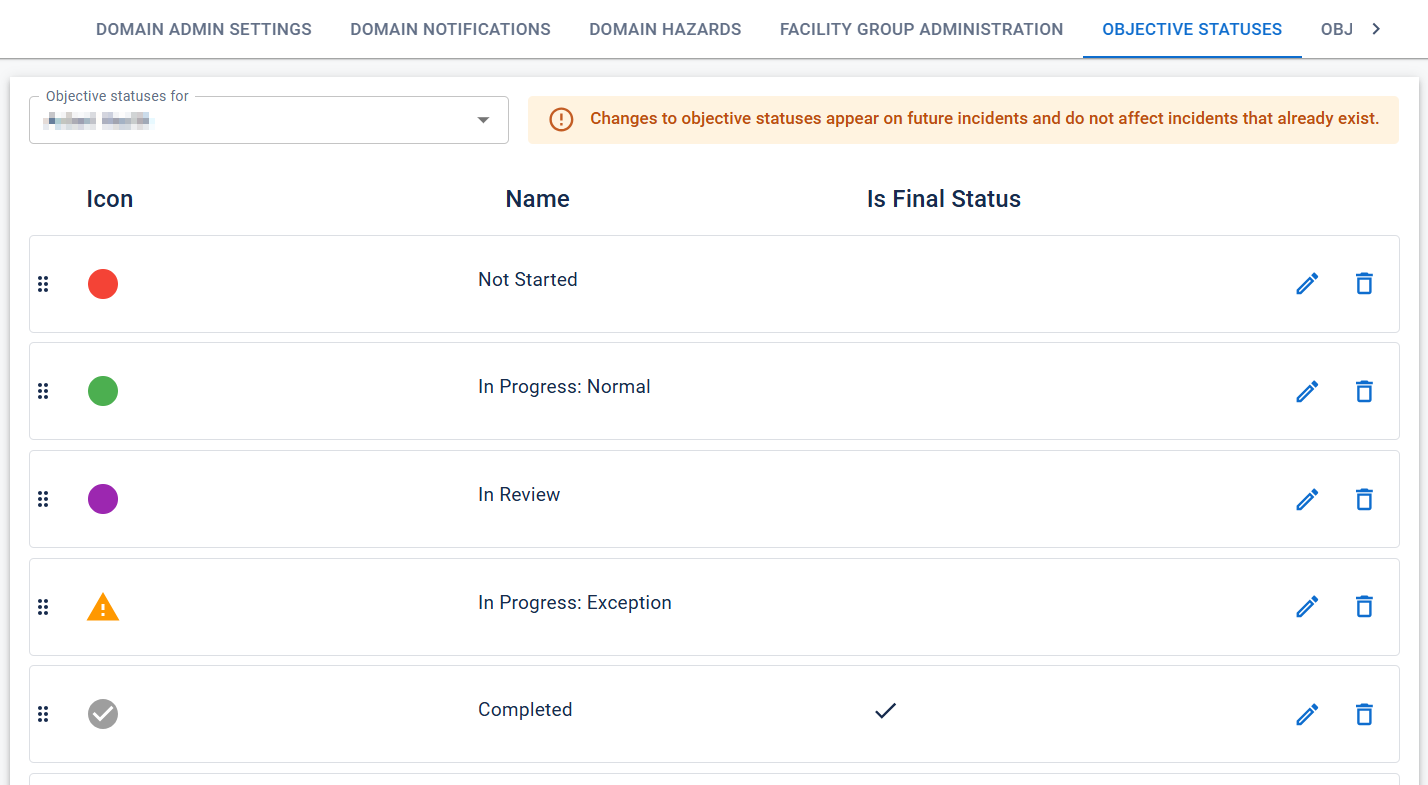
On the Objective Statuses tab of the Settings Dashboard, administrators can create and manage objective statuses.
Changes to objective statuses only affect incidents created thereafter, not existing incidents.
To access objective statuses
-
In the header, on the upper right, click the settings icon
 and select eICS Settings. The Settings Dashboard opens.
 -
Click the Objective Statuses tab. The Objective Statuses page opens.
To add an objective status
-
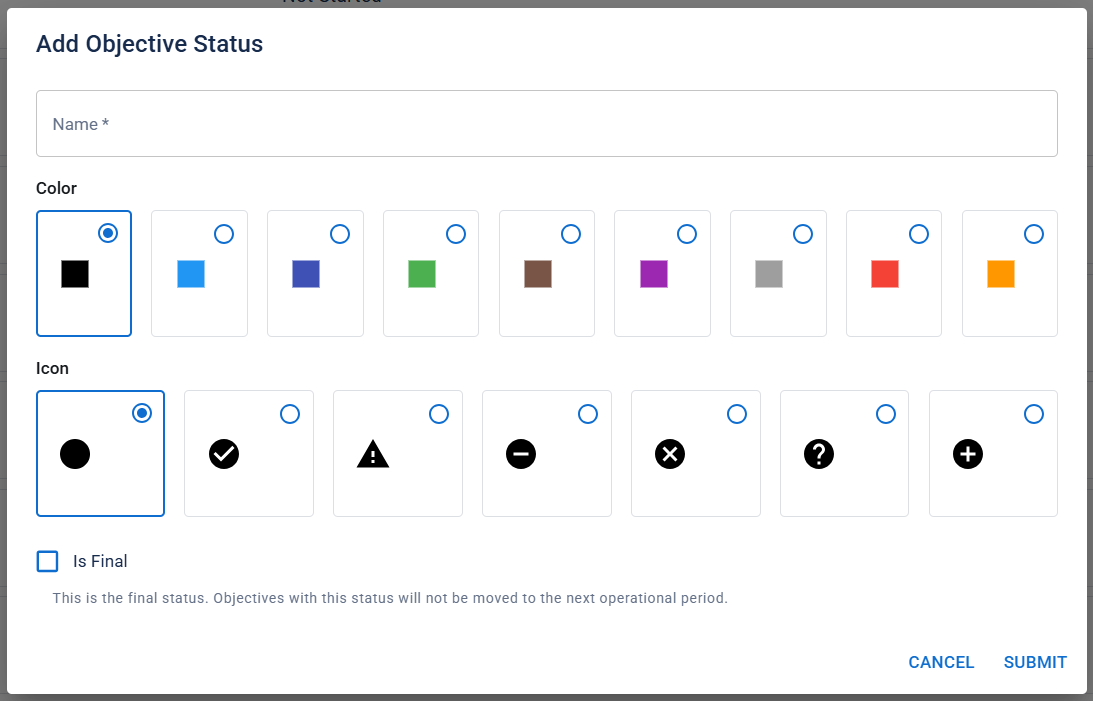
At the bottom of the Objective Statuses page, click Add Objective Status. The Add Objective Status window opens.
-
Enter a name for the objective status.
-
Select a color for the status.
-
Select an icon for the status.
-
If needed, select Is Final.
Marking an objective as final generally indicates that no further action can be taken for that objective. If an objective has a final status when the incident's operational period changes, eICS will not copy the objective to the new operational period.
-
Click Submit.
To edit an objective status
-
On the Objective Statuses page, locate the objective status you want to edit. On that row, click the edit icon
 . The Edit Objective Status window opens.
 -
Edit the fields as needed.
-
Click Submit.
To reorder objective statuses
The order of objective statuses on this page determines how they appear in menus. The top status is automatically assigned to all objectives at the start of an incident.
On the Objective Statuses page, click the tile you want to move and drag it above or below other tiles.
To delete an objective status
-
On the Objective Statuses page, locate the objective status you want to delete. On that row, click the delete icon
 . A confirmation dialog opens.
 -
Click OK.
Related Concepts