Create Users
On the Users page of the system settings, authorized administrators can create new user accounts for the locations they manage. You can create new users one at a time, or you can create multiple users at once by uploading a spreadsheet file. When you create or edit one user at a time, you can enter more information about that user, such as their organization and phone number.
The location you assign to a new user governs their access to provider facilities, patients associated with those facilities, and EMTrack features. For more information, see Locations and Roles.
To create one user account
-
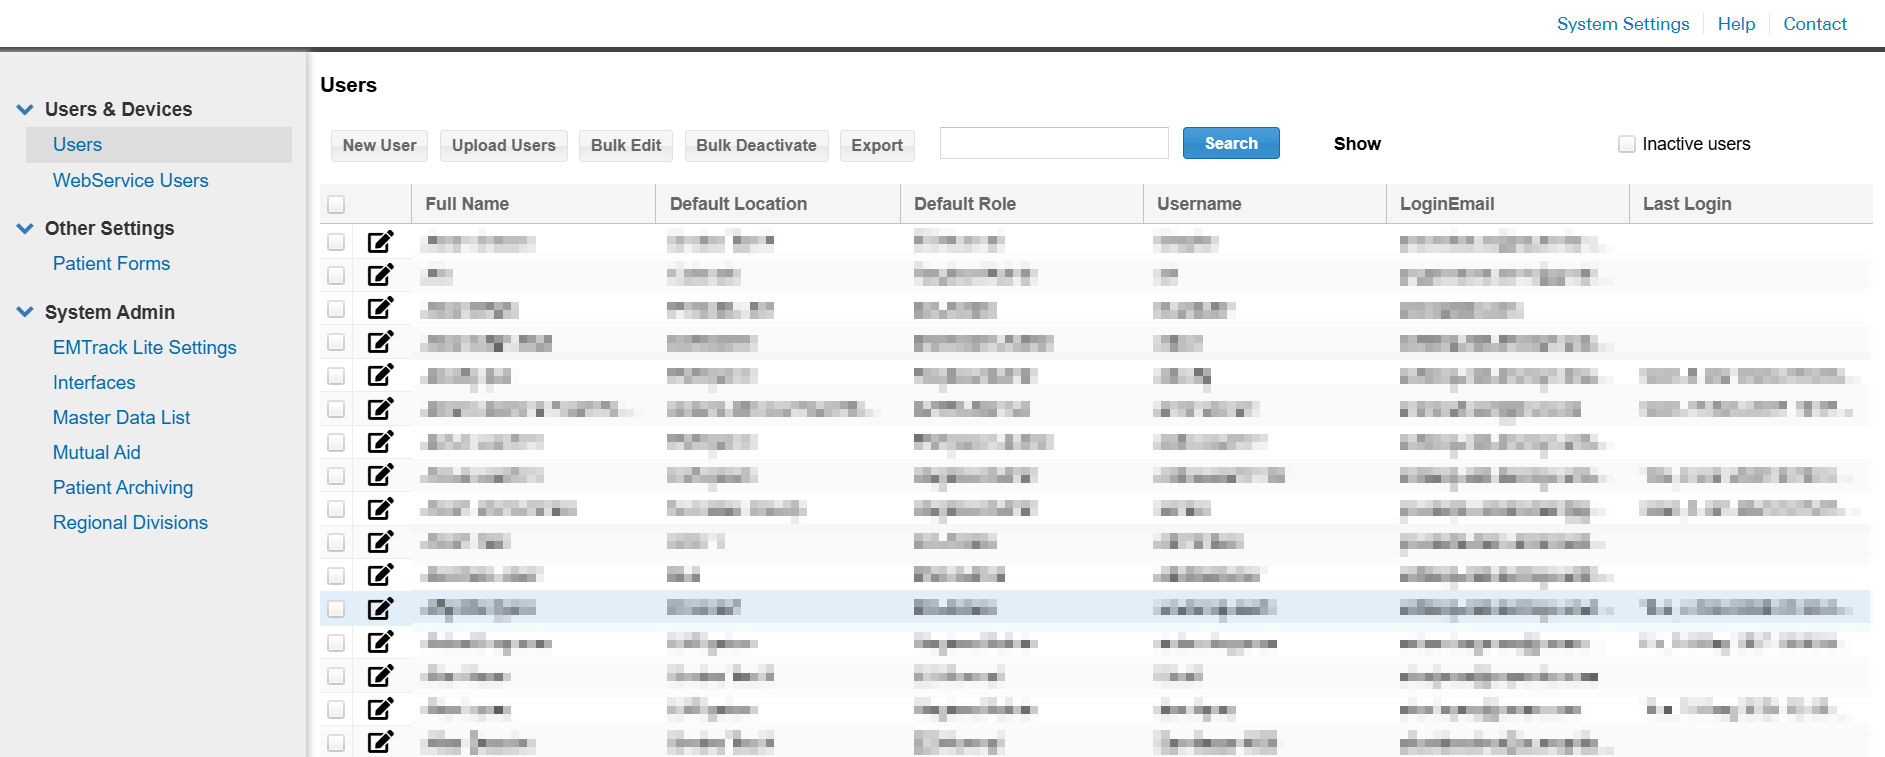
On the upper right, click System Settings. The system settings open to the Users page.
-
Click New User. The Choose User Access Type window opens.
-
Select Password or PIN Only. For more information, see Password vs PIN.
-
Enter the requested information. The fields vary depending on whether you selected Password or PIN Only.
-
Click Save.
|
Field |
Description |
|---|---|
| Login Email |
Used by password users to fully access EMTrack. |
| Username |
Unique identifier for the user. |
| First Name, Middle Name, Last Name |
User's name. Middle name is optional. |
| Organization |
User's organization affiliation. |
| Time Zone |
User's time zone. |
| Work Phone, Mobile Phone, Text Pager, Email |
User's contact information. Not required to access EMTrack. |
| State, Level, License # |
User's healthcare provider information, including their state, level (doctor, nurse, EMT), license number, and whether they are authorized to order medication. |
| PIN Access |
Indicates whether the account has PIN access enabled and sets the PIN. Password users can use a PIN to log in to EMTrack with limited access. A PIN must contain exactly four numbers, and it cannot consist of four identical numbers or an ascending/descending series of four numbers (for example, 5555 or 5678). |
| System Admin, Location, and Role |
User's default location (division) and role at that location. You can also identify the user as a system admin. |
|
Field |
Description |
|---|---|
| Username |
User's username. |
| PIN |
Indicates whether the account has PIN access enabled and sets the PIN, which is required for PIN-only users to access EMTrack. A PIN must contain exactly four numbers, and it cannot consist of four identical numbers or an ascending/descending series of four numbers (for example, 5555 or 5678). |
| Organization |
User's organization affiliation. |
| Time Zone |
User's time zone. |
| Location, Role |
User's default location (division) and role at that location. |
| First Name, Last Name |
User's name. |
| Email, Phone |
User's contact information. Not used to access EMTrack. |
| Authorized To Order Medication |
Indicates whether the user is authorized to order medication. |
To create multiple user accounts
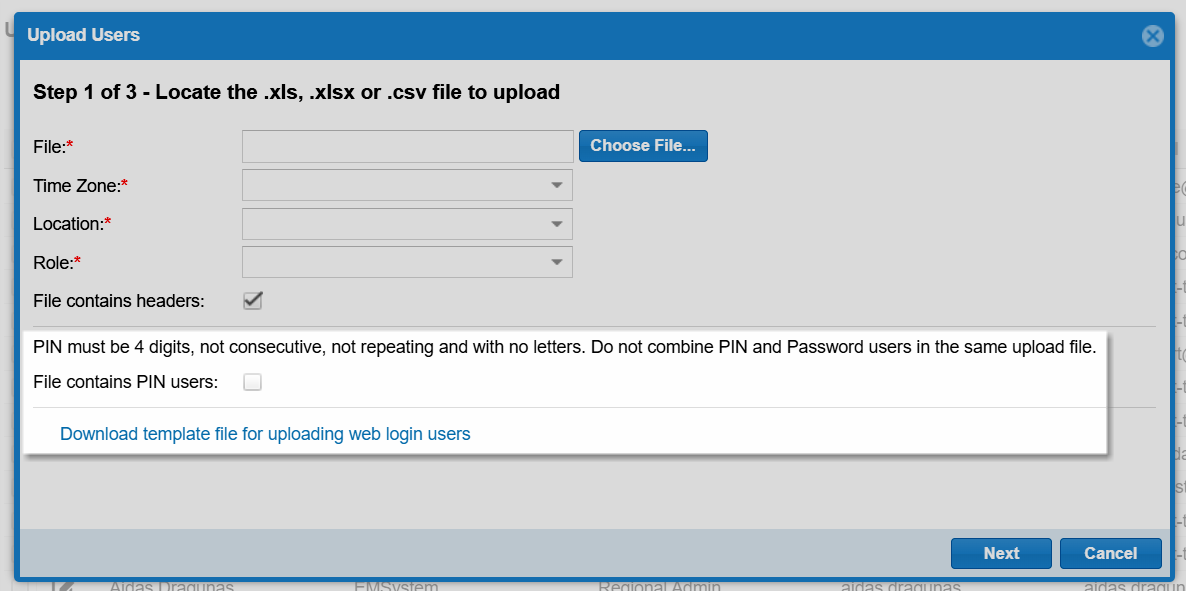
You can create multiple user accounts by uploading a spreadsheet file (XLS, XLSX, or CSV) with information about the new users. The file should include separate columns for each person's first name, last name, username, and the email address or PIN they will use to log in. You can download template files by clicking the download link on the Upload Users window.
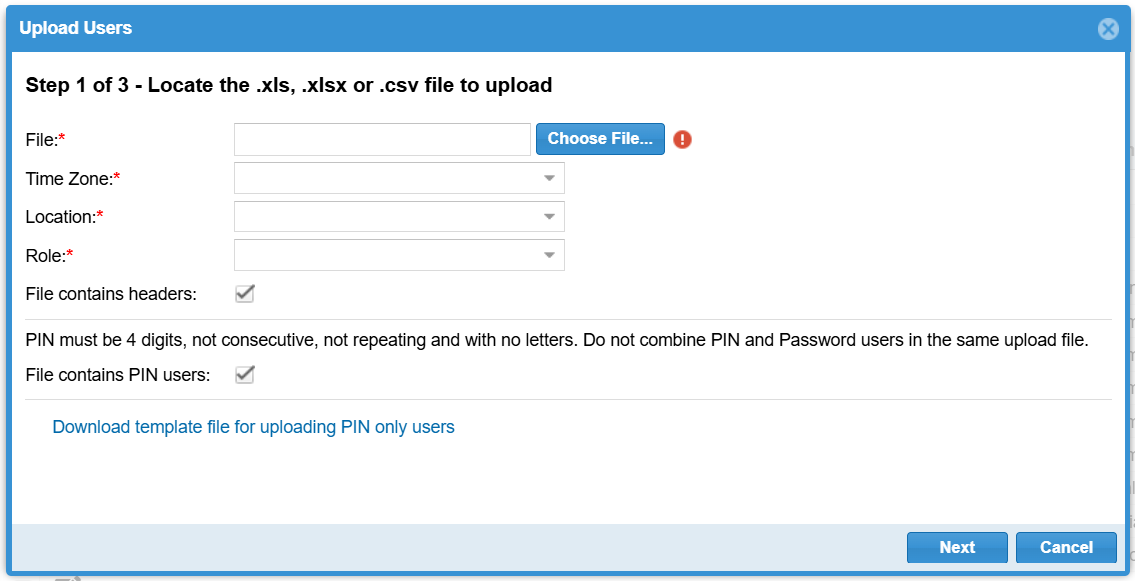
By default, the link provides a template for password users. If you select File contains PIN users, the link instead provides a template for PIN-only users. The two templates are nearly identical, except the template for password users has a Login Email column, whereas the PIN-only template has a PIN column. You must upload password users in a separate file from PIN-only users. For more information about these types of users, see Password vs PIN.
A PIN must contain exactly four numbers, and it cannot consist of four identical numbers or an ascending/descending series of four numbers (for example, 5555 or 5678).
During a bulk upload, you must choose one time zone, location, and role to apply to all the new users. If needed, you can later edit multiple users at once to change their location and role. You can also edit individual users to add more details, such as their organization and phone number.
-
On the upper right, click System Settings. The system settings open to the Users page.
-
Above the table of users, click Upload Users. The Upload Users window opens.
-
Click Choose File, then select and upload the file you want to import users from.
-
Select the Time Zone, Location, and Role for the new users.
-
If the file does not contain headers for each type of data, such as First Name and Username, clear File contains headers.
-
Click Next.
-
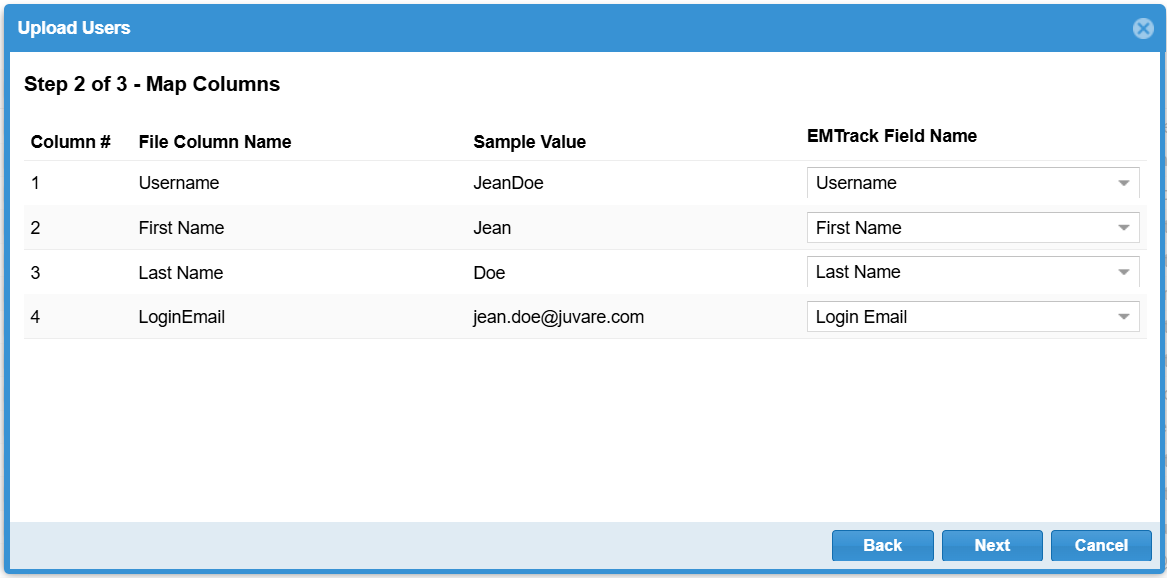
EMTrack tries to automatically map the file's columns to the corresponding EMTrack fields, such as Username and Login Email. If any of the columns are mapped incorrectly, use the EMTrack Field Name menus to edit them.
-
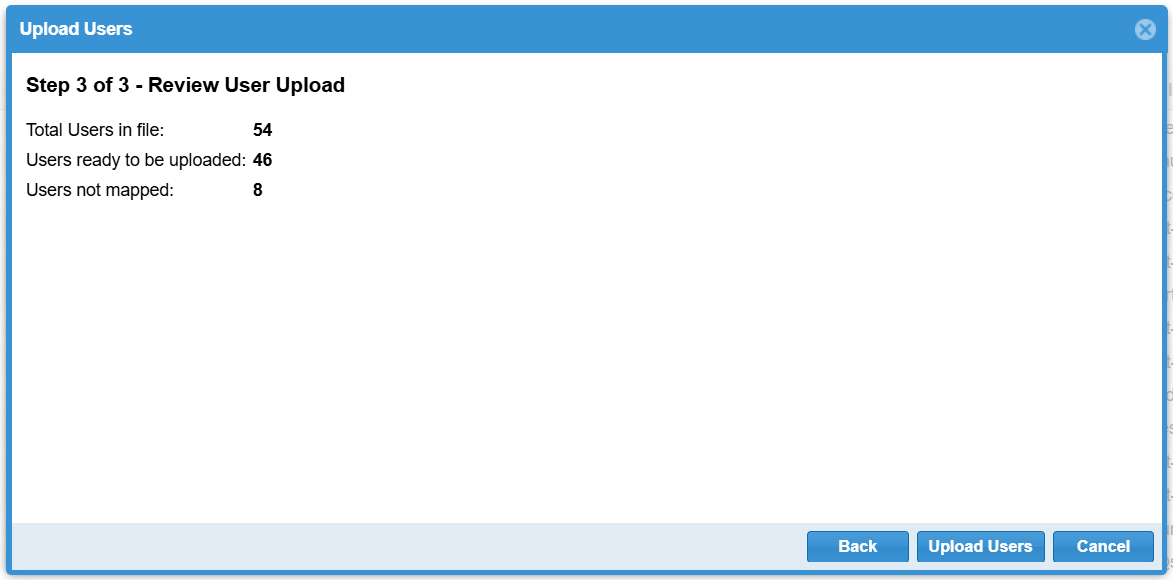
Click Next. A summary displays the number of users who will or will not be created.
The Users not mapped row shows the number of people who will not receive a new user account due to issues with their information. For example, their email address may already be associated with an EMTrack account, or their PIN may be misconfigured. You may need to review your file for issues, correct them, and restart this process.
-
Click Upload Users.
