Import Inventory Locations
To import inventory locations
If you import inventory locations, these locations will overwrite the currently configured locations.
-
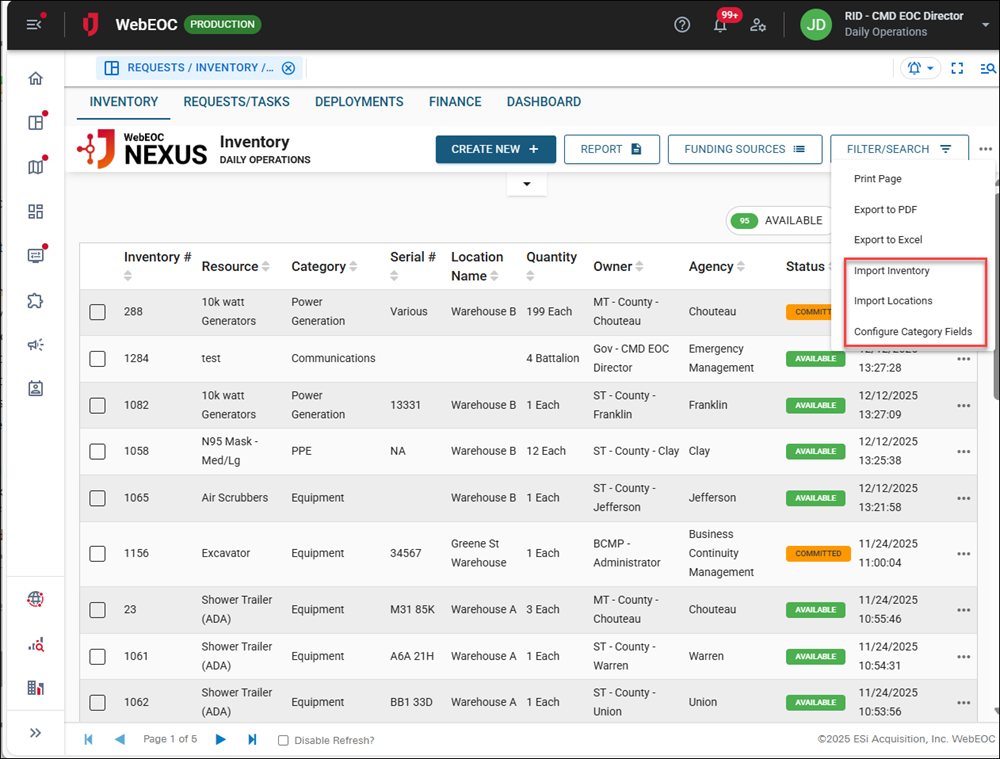
On the Inventory tab, click the ellipsis in the upper right and select Import Locations.
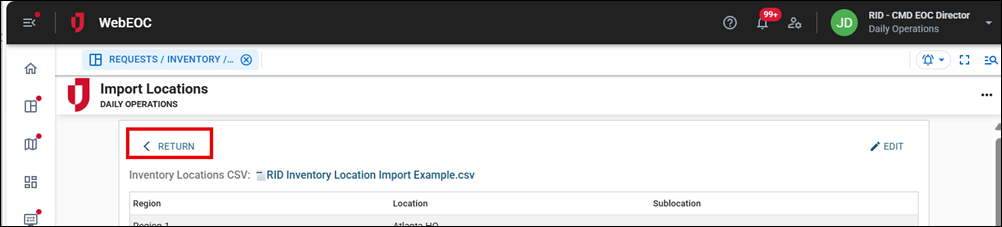
The Import Locations page opens.
-
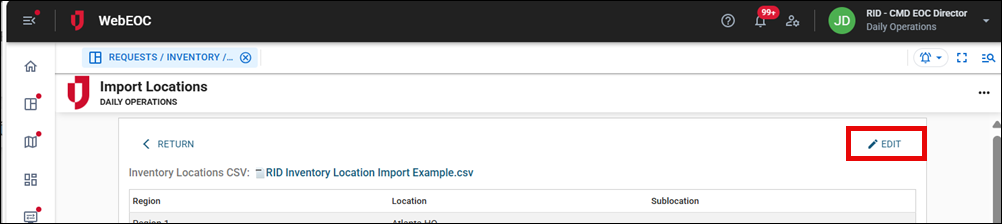
Click Edit in the top right.
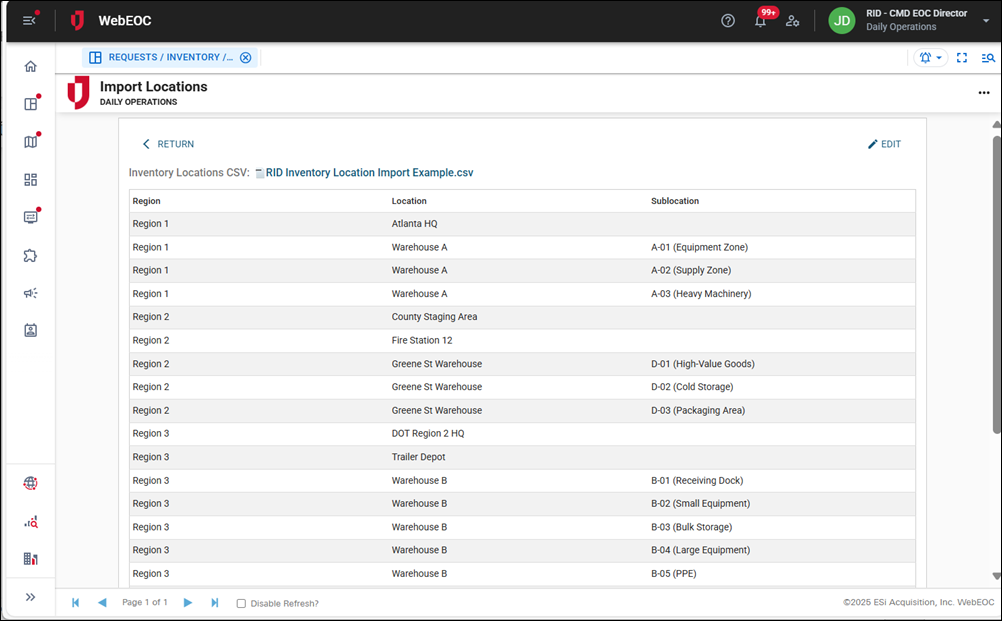
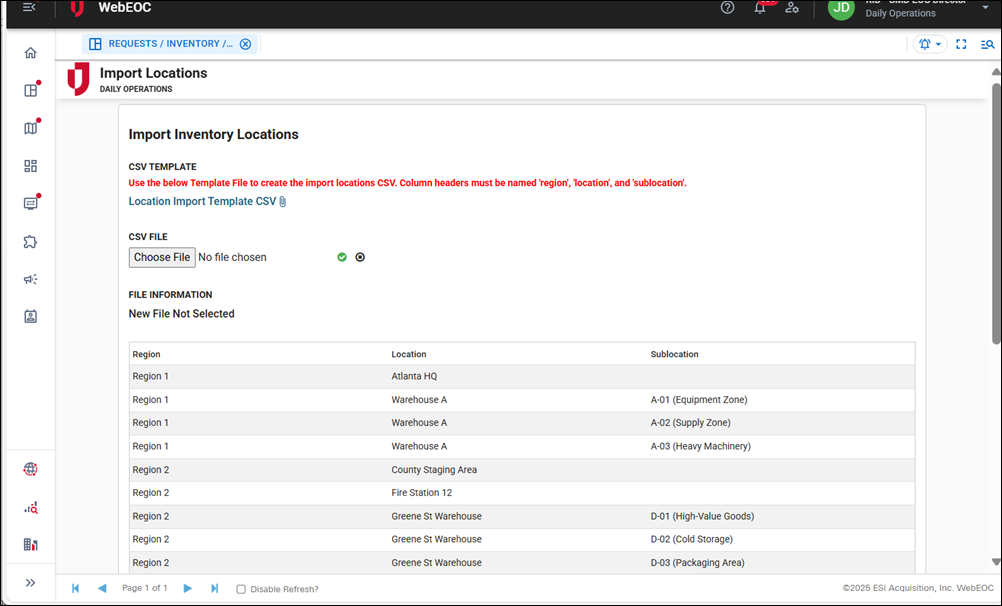
The Import Inventory Locations page opens.
-
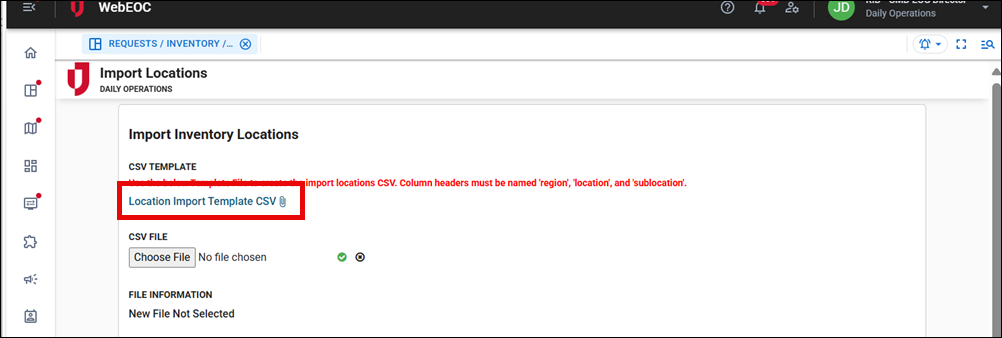
Click the Location Import Template CSV link to download the RID Inventory Location Import Template.csv file.
-
Update the template based on your organization’s needs. Complete the region, location, and sublocation columns.
-
Save the .CSV file.
-
On the Import Locations page, click the Choose File button, navigate to the CSV file, and upload it to populate the table.
-
After importing the template, scroll down to the bottom of the page and click Save in the bottom right.
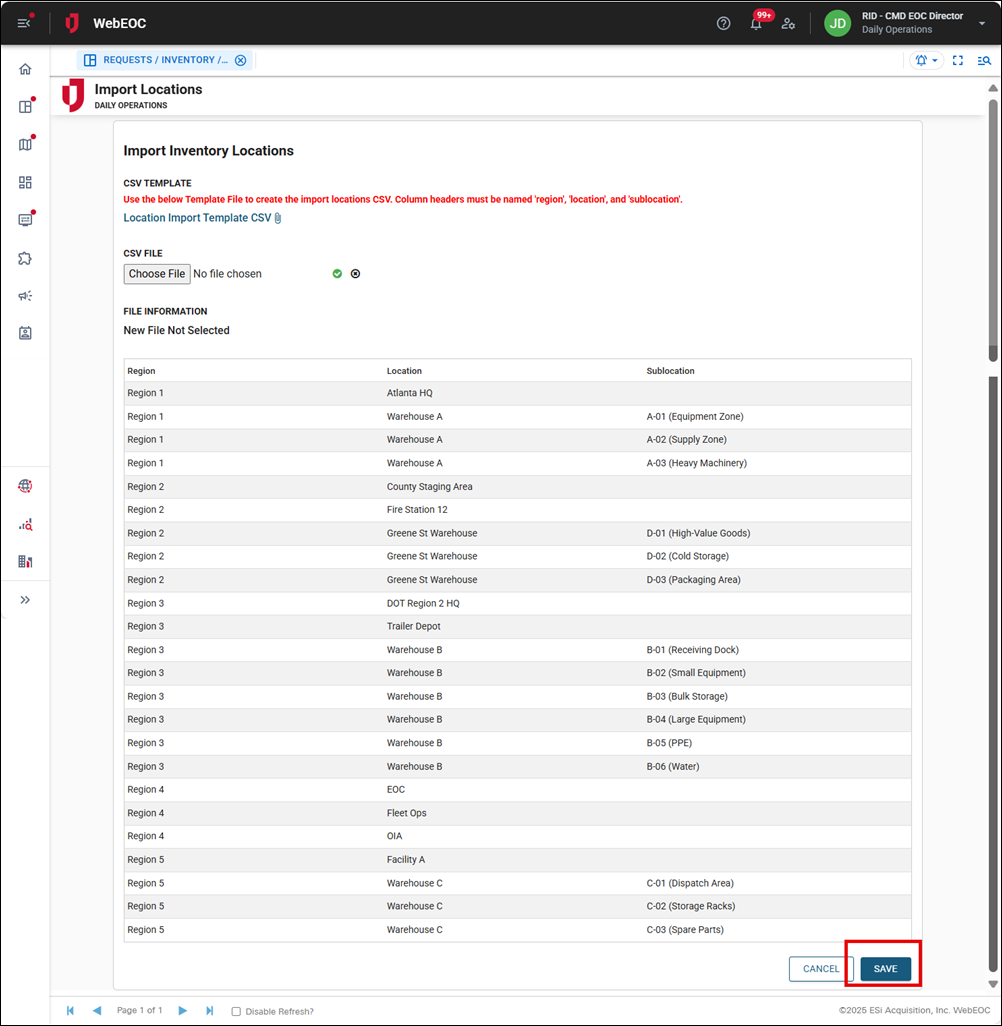
After saving the imported locations, you are returned to the Import Locations page.
-
Click Return in the top left to return to the Inventory tab.