On the Event Log Labels tab of the Planning Dashboard, admins can view, create, edit, and delete event log labels.
To create an event log label
-
On the main menu, click the planning icon
 . The Planning Dashboard opens.
 -
Click Event Log Labels. The Event Log Labels page opens.
-
In the Labels for menu, select the domain or facility that will be associated with the label.
-
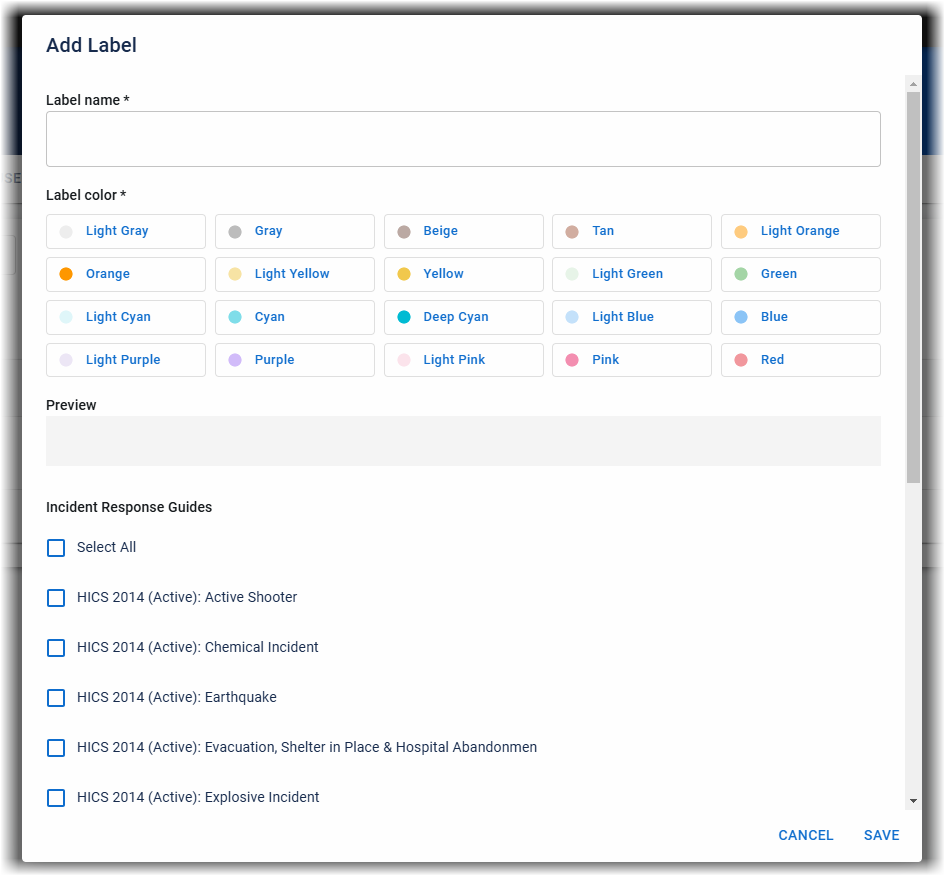
Click New Label. The Add Label window opens.
-
For Label Name, enter a name.
-
For Label Color, select a color.
-
For Incident Response Guides, select the incident response guides (IRGs) associated with this label. This label is only displayed in incidents that use those IRGs.
-
Click Save.
To edit an event log label
-
On the main menu, click the planning icon
. The Planning Dashboard opens. -
Click Event Log Labels. The Event Log Labels page opens.
-
In the Labels for menu, select the domain or facility you want to edit an event log label for.
-
Click the more icon
 and select Edit. The Edit Label window opens.
 -
Edit the name, color, or associated IRGs.
-
Click Save.
To delete an event log label
Deleting an event log label removes it from all event logs and IRGs in the selected domain or facility.
-
On the main menu, click the planning icon
. The Planning Dashboard opens. -
Click Event Log Labels. The Event Log Labels page opens.
-
In the Labels for menu, select the domain or facility you want to delete an event log label from.
-
Click the more icon
and select Delete. A confirmation window opens. -
Click Delete.
Related Concepts