During an incident, you can add locations to the map that identify buildings, incidents, landmarks, people, vehicles, or weather to provide visual context that helps participants safely and successfully handle their objectives and navigate the incident.
To add a location
-
On the Home page, in the list of Active Incidents, locate the incident and click View. The Incident Dashboard opens.
-
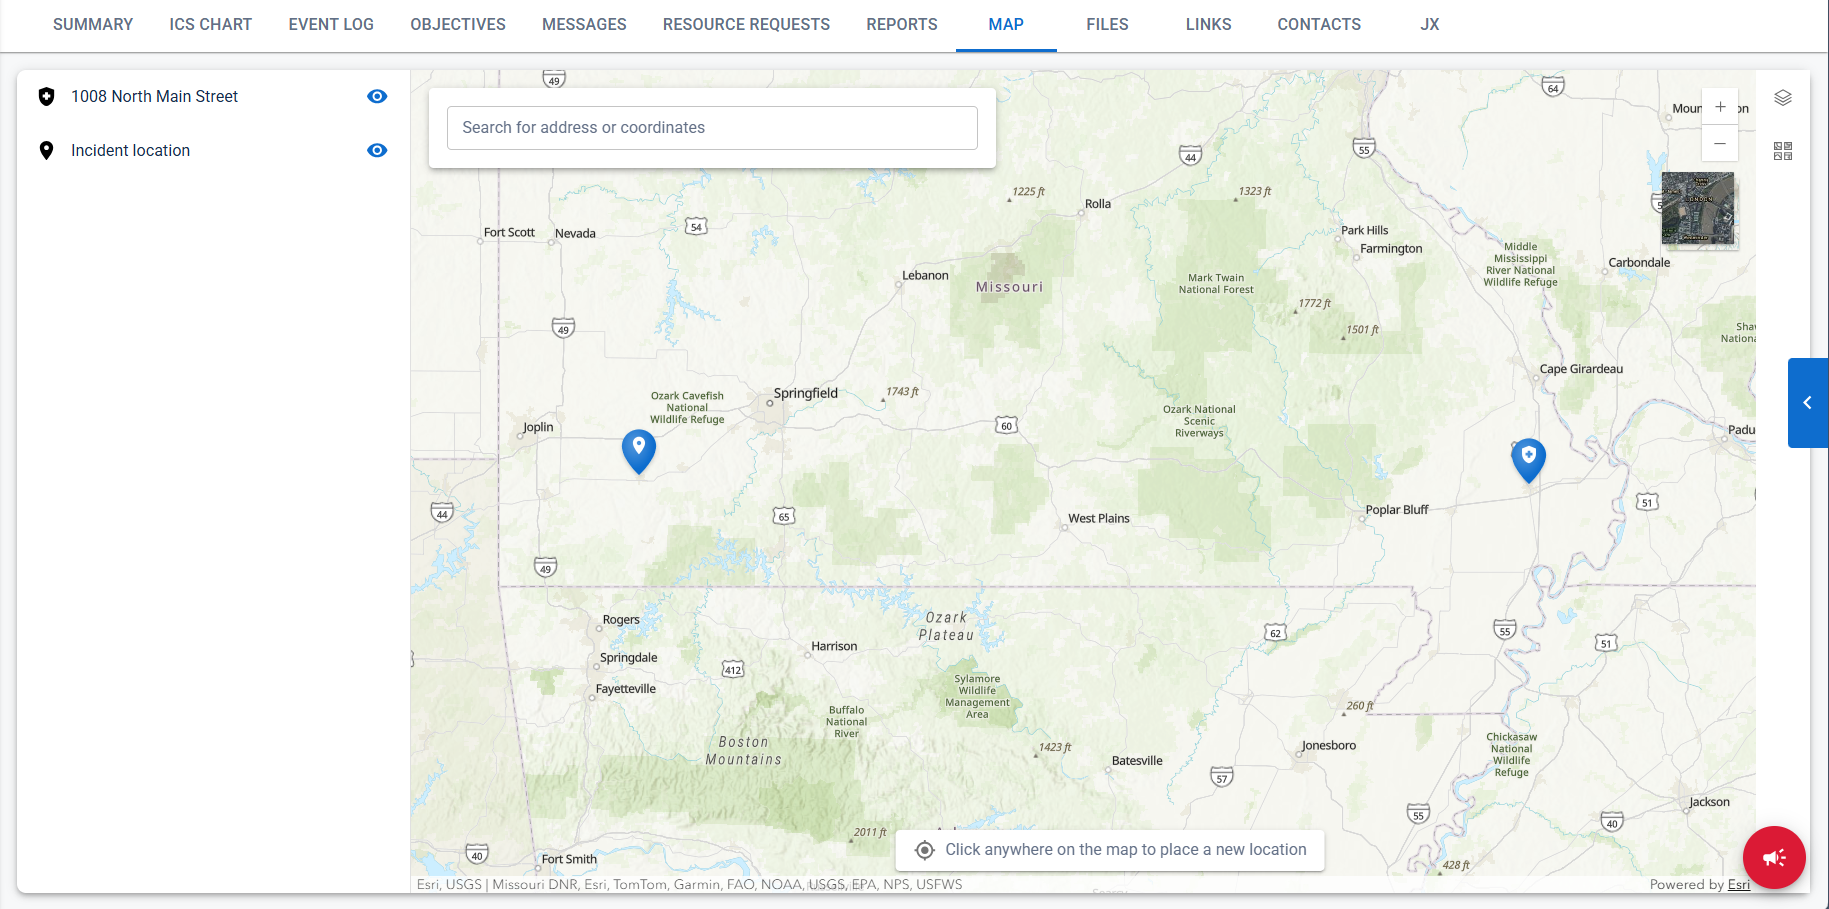
Click the Map tab.
-
Locate the position you want to add using one of the following methods:
-
In the Search field, enter an address or coordinates and select the appropriate location.
-
Click the appropriate position directly on the map.
A marker appears at the selected location.
-
-
To select a different position, click another location on the map. To remove the current selection, click Clear.
-
When the marker is positioned at the appropriate location, click Add Selected Location.
-
The Add New Location window opens. Address and geographic information available for the selected position is automatically populated.
-
For Location Name, enter a name for the location.
-
For Description, enter relevant details about the location.
-
In the Icon list, click an icon to represent the location.
-
Take one of these actions, if you know:
 The address
In the appropriate fields, enter the street number and name, city, state, and ZIP Code. Then, click the down arrow
 .
The Latitude and Longitude
.
The Latitude and Longitude
Enter the geographic coordinates. Then, click the up arrow
 .
.
-
Click OK.
Related Concepts