Manage Personal Dashboards
You can create and manage personal dashboards which are only visible to you. To access dashboards, open the main menu, expand View, and select Dashboard. The Dashboard page displays your last viewed dashboard by default, but you can expand the list to select and view other active dashboards. When viewing any dashboard, the displayed information is restricted based on your roles and rights.
On this page, you may be able to access other dashboards you did not create. These are shared or global dashboards, which are managed on the Dashboards List page by people with the Setup Region Views right.
To create a dashboard
-
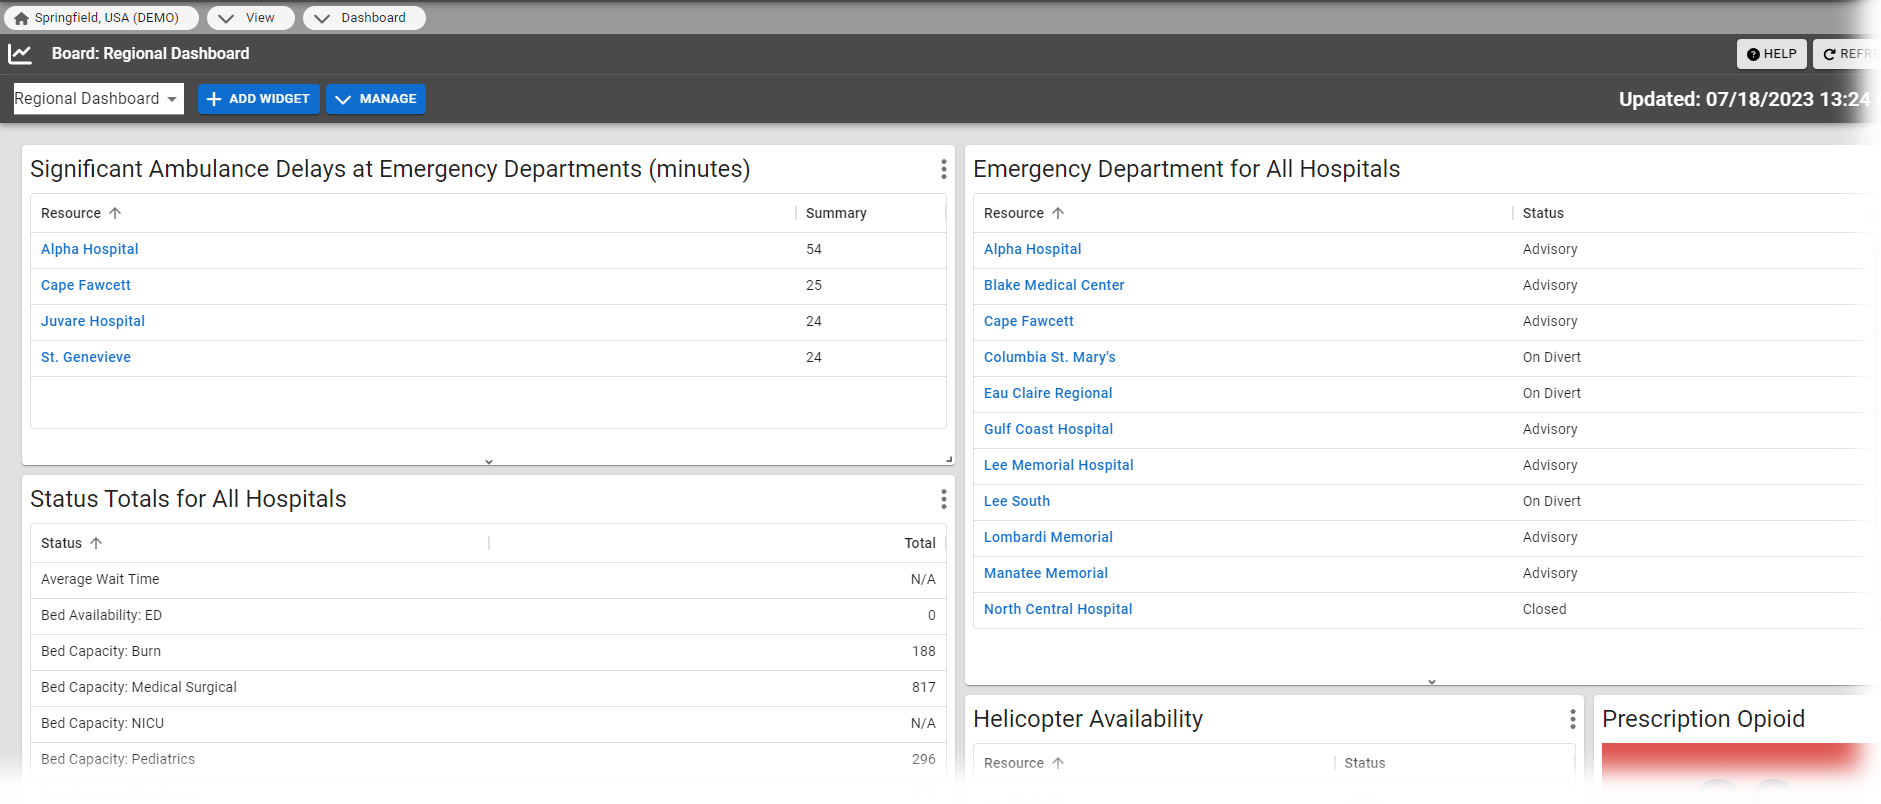
In the main menu, expand View and select Dashboard. The Dashboard page opens.
-
On the left, click Manage and select New Dashboard. The Create New Dashboard window opens.
-
Enter a name for the dashboard.
-
Click Save. The new dashboard opens, but it does not have any widgets yet. To add and configure widgets, continue to Step 3 of To configure dashboard widgets.
To configure dashboard widgets
-
In the main menu, expand View and select Dashboard. The Dashboard page opens.
-
In the dashboard menu, select the dashboard you want to edit.
-
Take any of the following actions:
 Add a widget
-
Click Add Widget. The Available Widgets window opens.
-
Locate the type of widget you want to add. On that row, click Add. The Create <Widget Name> window opens. For more information, see Dashboard Widgets .
-
Enter the parameters for that widget.
-
Click Save.
Edit a widget
-
On the widget title bar, click the more
 icon and select Edit. The Edit <Widget Name> window opens.
 -
Enter changes to the appropriate fields.
-
Click Save.
Clone a widget
-
On the widget title bar, click the more
icon and select Clone. A new widget appears on the dashboard. -
On the cloned widget's title bar, click the more
icon and select Edit. The Edit <Widget Name> window opens. -
Enter changes to the appropriate fields.
-
Click Save.
Delete a widget
-
On the widget title bar, click the more
icon and select Delete. The Confirm Delete Widget window opens. -
To confirm and proceed with deleting the dashboard, click OK.
Resize a widget
Click the arrows on the bottom or lower right corner of a widget and drag to resize the widget.
Move a widget
Click the widget title bar and move it to another position on the dashboard.
Configure a column
You can sort, filter, show/hide, and rearrange the columns on a widget. Hover over column header for the column you want to configure. The more icon
appears for that column. Click the more icon, then use the menu options to configure the column. -
-
On the upper left, click Back. The Dashboard List page opens.
To rename a dashboard
-
In the main menu, click View and then click Dashboard. The Dashboard page opens.
-
In the dashboard menu, select the dashboard you want to rename.
-
Click Manage and select Edit Dashboard. The Edit Dashboard window opens.
-
Edit the text in the Name field.
-
Click Save.
To copy a dashboard
When you copy a dashboard, you create a new personal dashboard that is identical to the original. Then, you can edit the copy as needed. You can make copies of shared or global dashboards, but remember that future changes to the original dashboard will not be reflected in your copy.
-
In the main menu, click View and then click Dashboard. The Dashboard page opens.
-
In the dashboard menu, select the dashboard you want to copy.
-
Click Manage and select Copy Dashboard. The Copy Dashboard window opens.
-
Enter the name for the new dashboard.
-
Click Save.
To delete a personal dashboard
You can delete the personal dashboards that you created. Only people with the Setup Region Views right can delete shared dashboards, and they can only do so through the Dashboards List page.
This operation cannot be reversed.
-
In the main menu, click View and then click Dashboard. The Dashboard page opens.
-
In the dashboard menu, select the dashboard you want to delete.
-
Click Manage and select Delete Dashboard. A confirmation dialog opens.
-
Click OK.
Related Concepts