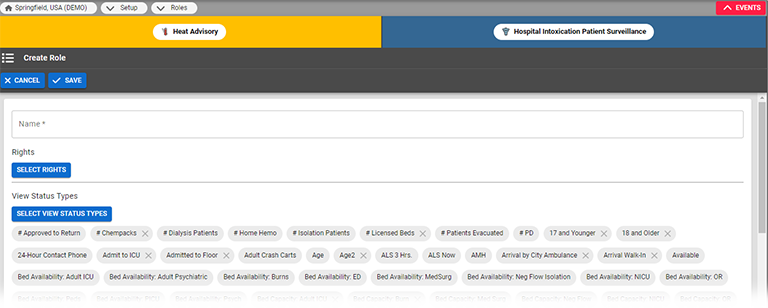
Create a Role
Authorized administrators can create new roles to define what users with that role can access. When you create a role, you select user rights and the status types that the role's users can view or update. After you save the new role, you can assign users to it.

-
If you assign the Update Right, the checkbox for View Right is automatically selected. Likewise, if you clear the View Right checkbox, the Update Right checkbox is also cleared.
-
You will also want to specify a region default role; you can make an existing role the default or create a new role for that purpose.
-
If a status type is set up to be visible to users in other regions, it is automatically visible to all roles and you cannot change this setting.
To create a role
-
In the main menu, click Setup and then click Roles. The Roles List opens.
-
Click Create Role. The Create Role page opens.
-
For Name, enter the role's name.
-
Select the rights to assign to this role (Select the Rights for this Role section).
-
In the View Status Type and Update Status Types sections, select the appropriate status types this role can view and/or update:
-
View Right - Role can view this status type
-
Update Right - Role can view and update this status type
-
Neither selected - Role cannot view or update this status type
-
-
Click Save.