Log In to WebEOC Nexus
All logins to WebEOC Nexus are handled by Juvare Login Services (JLS). Depending on how your instance is configured, you may be using JLS to authenticate, or you may be using SSO using your organization’s identity provider (IdP).
To log in to WebEOC Nexus if you are using JLS, but not SSO using your organization’s identity provider (IdP), to authenticate
If you have not already done so, you must activate your Juvare account.
After your account is activated and your password has been set, and if you do not have an active session, the first page you will see when logging in is the Sign In page. This page logs you in to Juvare Login Services (JLS).

-
Enter your email and click Next.
Your organization’s terms and conditions display below the Email field. Refer to Configure System Messages for details on setting terms and conditions.
If you have not previously accepted the Login Policy, the Login Policy window opens.
- Click Accept to continue the login process.
-
Select from these options to continue logging in:
- If you do not have an active, valid JLS session, only the Log in button displays.
Click Log in to move to the next screen to continue the login process.
- If you have an active, valid JLS session, you will also see the Log in As Different User button.
You can click either Log In or Log in as a Different User.
If you click the Log In As Different User button, the current JLS session is cleared, removing tokens, and a clean Login page reloads. This allows you to start a new session with a different user account, clearing any existing JLS sessions that, in previous versions of WebEOC Nexus, occasionally got stuck or corrupted and could not be resolved via password or authenticator resets. -
Enter your email and click Next. You are signed in to WebEOC Nexus and the Homepage displays.

After you accept the Login Policy, this window does not display again, unless the policy is updated.
The Login page opens and displays different buttons depending on the status of your user session.
The Sign In page displays. This page logs you in to WebEOC Nexus.
Additional Login Pages
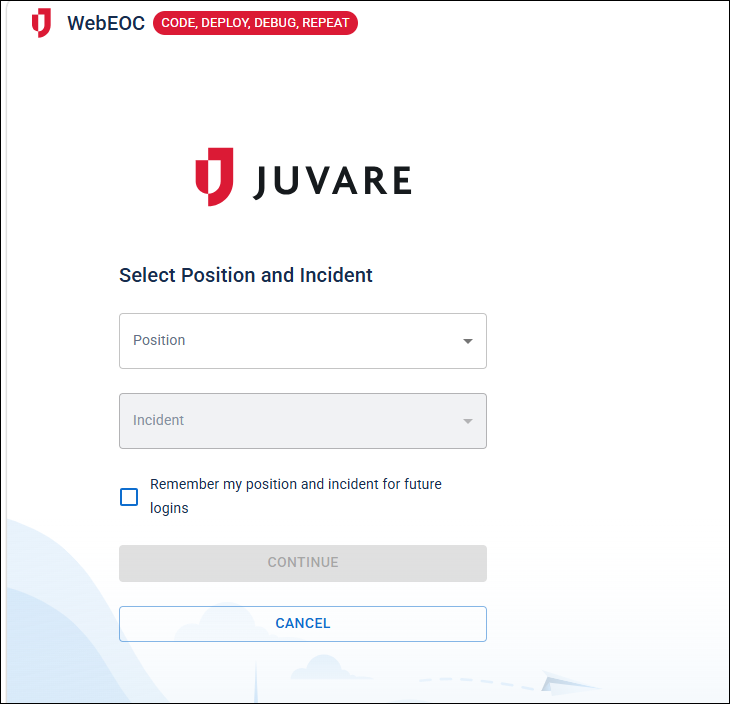
You may see the Select Position and Incident page if:
-
You are logging in to WebEOC Nexus for the first time, or, in the case of a new user, no previous position/incident has been stored.
-
In this case, both the Incident drop-down and the Position drop-down are empty and you must select an option from each.
-
-
The position has been deleted.
-
In this case, both the Incident drop-down and the Position drop-down are empty and you must select an option from each.
-
-
You have been removed from the position.
-
The incident has changed, whether it has been closed, archived, or replaced.
-
When the Select Position and Incident page displays due to an incident change, the Position drop-down is populated with your previous position and the Incident drop-down is empty or shows a newly created incident. In this case, a warning displays that the previously used incident has changed.
The Continue button is disabled until the user selects a position and incident.
-
To continue signing in, select your Position and Incident, and click Continue.
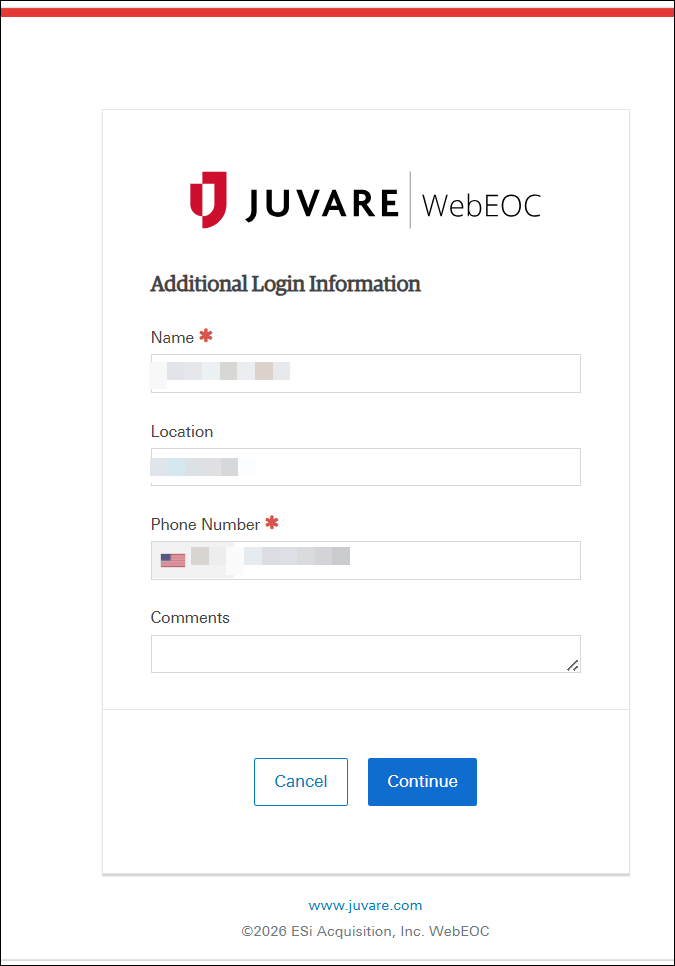
You may see the Additional Login Information page if:
-
You have no stored additional information. This could occur when you first log in, or if the information was never submitted.
-
An admin has selected the Require Additional Login Information checkbox when it was not previously selected.
-
An Admin clicked the Reset button to force all users to enter their additional information again during the login process.
-
An admin has cleared your stored additional information in the fields. In this case, when you log in, WebEOC Nexus treats this login as if it were your first login.
Enter the information and click Continue to sign in.
To log in to WebEOC Nexus if you are using your organization’s identity provider (IdP)
If you have not already done so, you must activate your Juvare account.
After your account is activated and your password has been set, the first page you will see when logging in is the Sign In page. This page logs you in to Juvare Login Services (JLS).
-
Enter your email and click Next.
Your organization’s terms and conditions display below the Email field. Refer to Configure System Messages for details on setting terms and conditions.
If you have not previously accepted the Login Policy, the Login Policy window opens.
- Click Accept to continue the login process.
- Click Log in to move to the next screen to continue the login process.
The Sign in page displays. This page logs you in to WebEOC Nexus.
- Enter your email and click Next.
After you accept the Login Policy, this window does not display again, unless the policy is updated.
The Login page displays.
You are signed in to WebEOC Nexus and the Homepage displays.
Additional Login Pages
You may see the Select Position and Incident page if:
-
You are logging in to WebEOC Nexus for the first time, or, in the case of a new user, no previous position/incident has been stored.
-
In this case, both the Incident drop-down and the Position drop-down are empty and you must select an option from each.
-
-
The position has been deleted.
-
In this case, both the Incident drop-down and the Position drop-down are empty and you must select an option from each.
-
-
You have been removed from the position.
-
The incident has changed, whether it has been closed, archived, or replaced.
-
When the Select Position and Incident page displays due to an incident change, the Position drop-down is populated with your previous position and the Incident drop-down is empty or shows a newly created incident. In this case, a warning displays that the previously used incident has changed.
The Continue button is disabled until the user selects a position and incident.
-
To continue signing in, select your Position and Incident, and click Continue.
You may see the Additional Login Information page if:
-
You have no stored additional information. This could occur when you first log in, or if the information was never submitted.
-
An admin has selected the Require Additional Login Information checkbox when it was not previously selected.
-
An Admin clicked the Reset button to force all users to enter their additional information again during the login process.
-
An admin has cleared your stored additional information in the fields. In this case, when you log in, WebEOC Nexus treats this login as if it were your first login.
Enter the information and click Continue to sign in.