Update Your Organization Profile
You or your Administrator provided the information on your organization profile when your system was added to Juvare Exchange (JX). It is essential to keep this information updated because other people in the JX Community learn about you and your organization from your profile, as it appears in the Organization Directory.
You can add primary, secondary, and other contacts to your organization that will display in your organization profile. This can assist if users are looking for a designated point of contact for your organization.
To update your organization profile
-
In the main menu, click the JX Networks icon
 . The Networks page opens.
 -
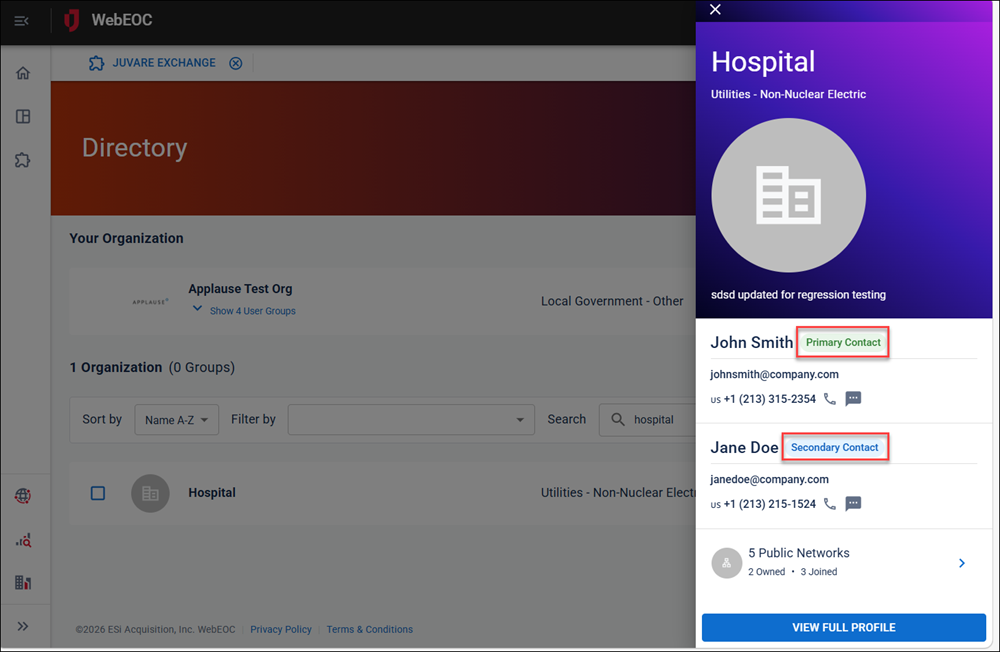
Under Your Organization, click the arrow on the right. The organization profile slide-out panel opens.
-
View the primary and secondary contacts for the organization as needed. These resources are available to answer questions about the organization.
-
Toward the bottom, click View Full Profile. Your profile page opens.
-
Perform any of the following actions in the banner at the top:
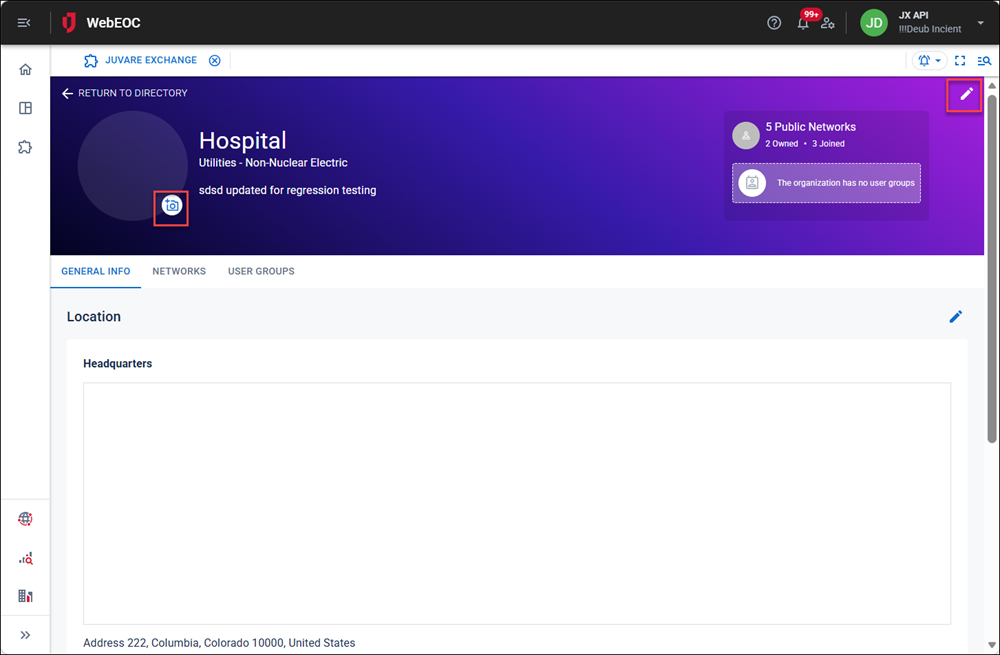
Update your logo
Click the camera icon on the lower right of the logo.
Update your organization details
-
Click the pencil edit icon on the upper right.
-
Update the fields as needed:
-
Click Submit.
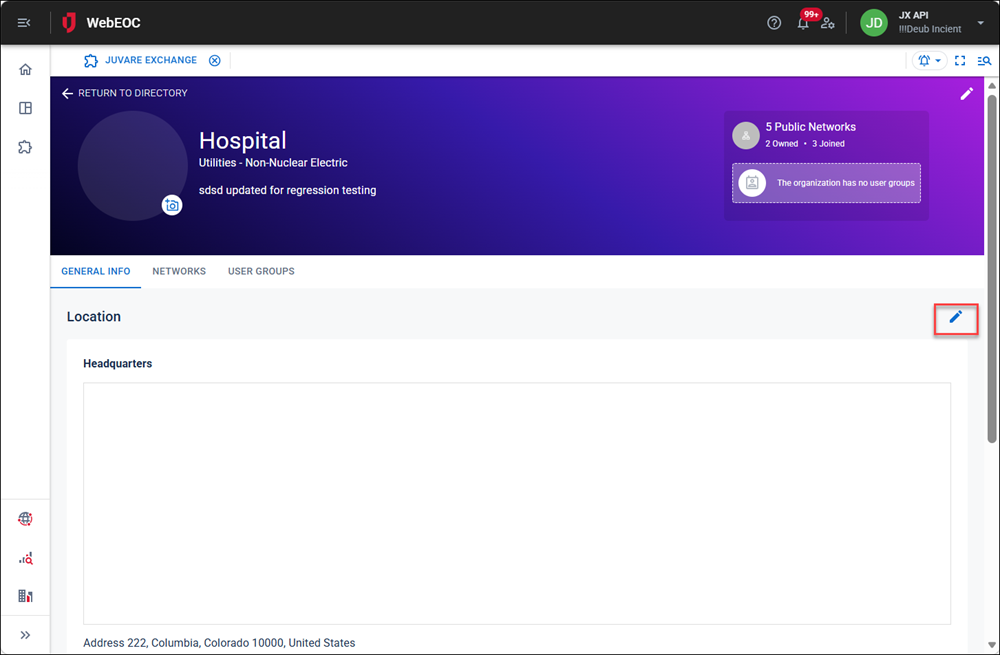
Update your location
-
On the General Info tab, click the pencil edit icon on the right.
-
On the Headquarters tab, enter your address information.
-
On the Area of Operations tab, enter the entire geographic region as a GeoJSON feature collection.
This location information is used in maps.
-
Click Submit.
Add contacts
Mark specific contacts as primary or secondary contacts for your organization, ensuring those contacts are prominently displayed on the organization profile slide-out panels throughout the platform.
-
On the General Info tab, in the Contacts section, click + Add New,
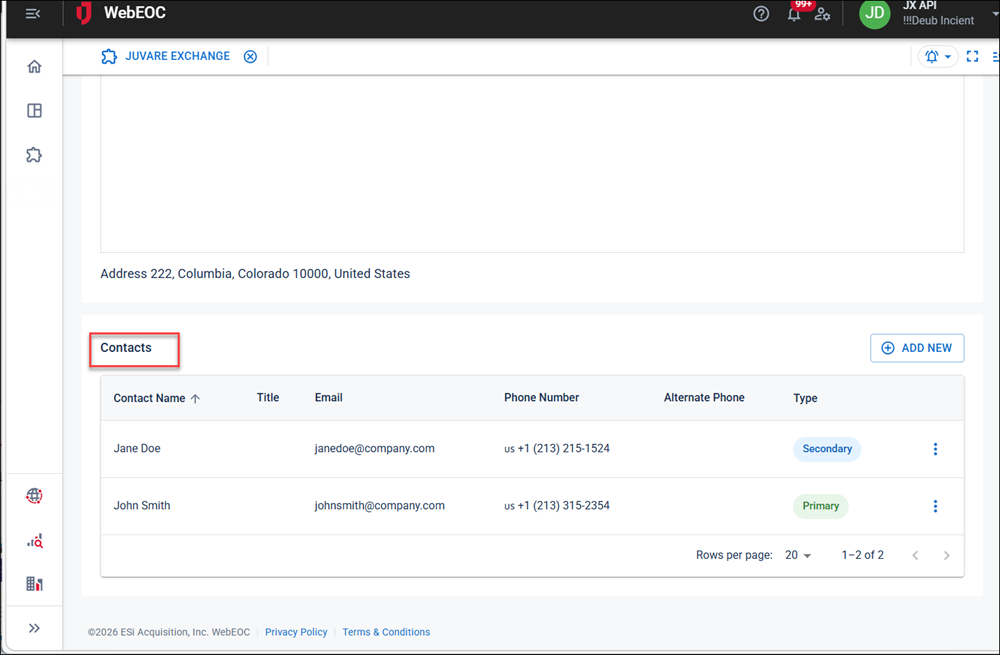
The Create Contact dialog opens.

-
Complete the fields for the contact.
-
Click Submit.
-
In the Contacts section, click the more icon
 and select Make Primary Contact or Make Secondary Contact.
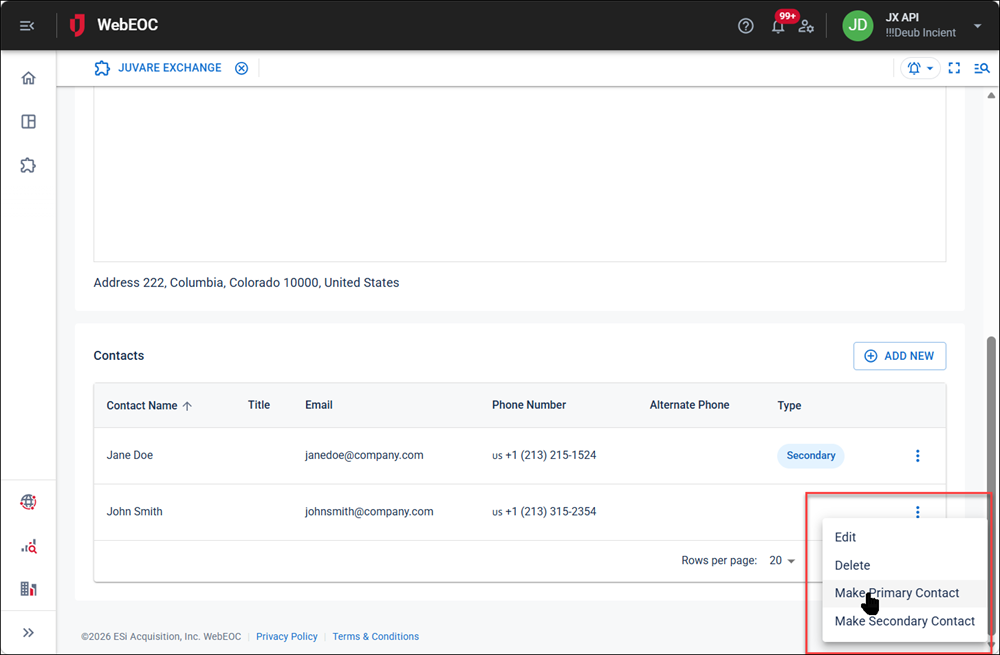
Manage contacts
On the General Info tab, in the Contacts section, click the more icon ![]() , and select one of the following options:
, and select one of the following options:
-
Make Primary Contact
-
Remove Primary Contact
-
Make Secondary Contact
-
Remove Secondary Contact
-
Edit
-
Delete
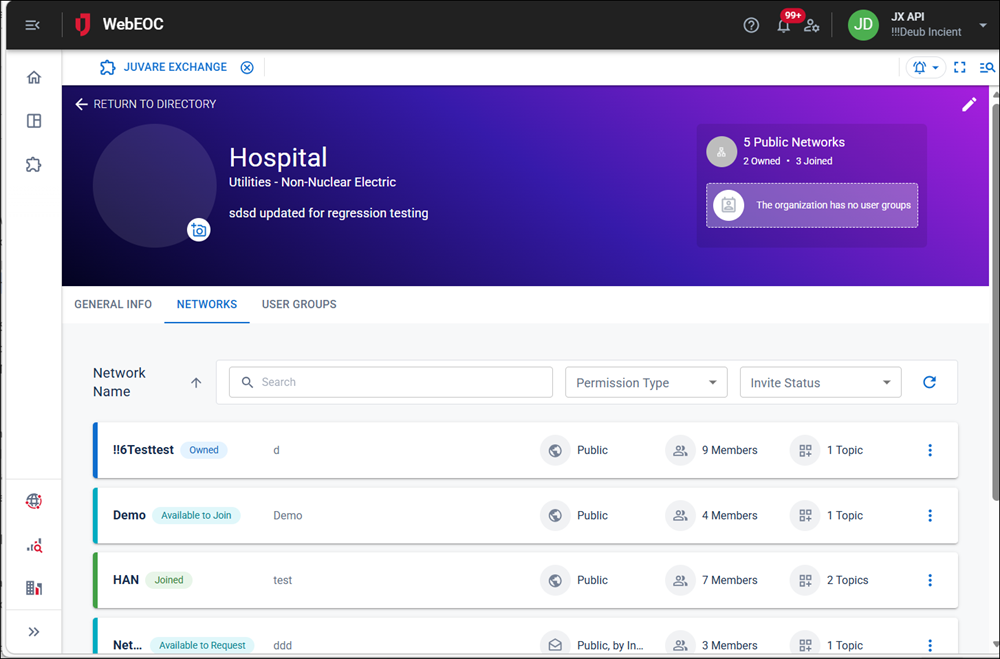
Manage your networks
-
Click the Networks tab.
-
Click the more icon
on the right of a network record and select from the following options: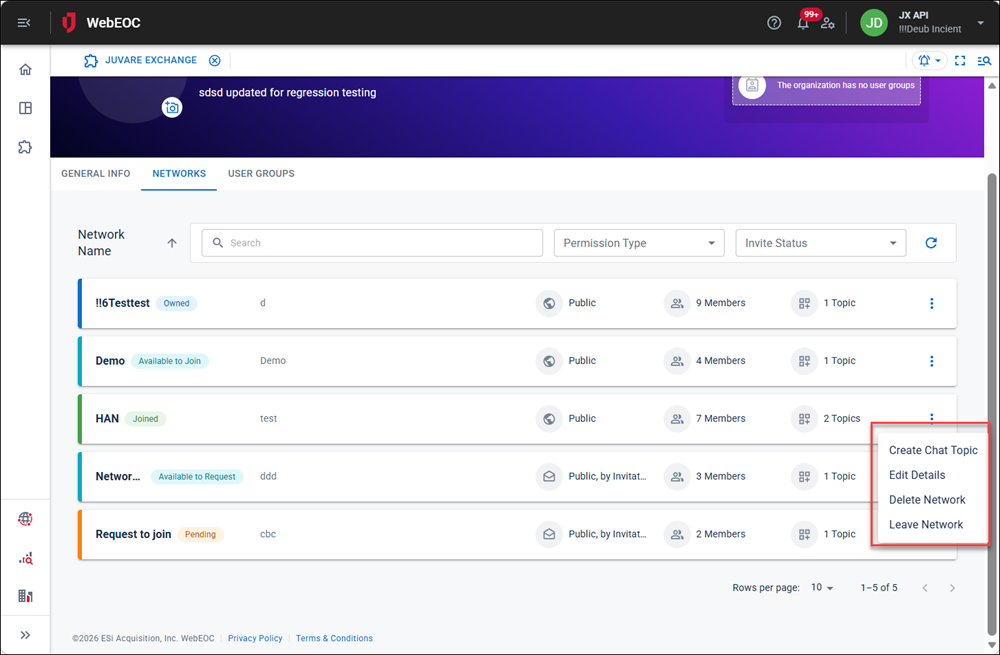
-
Select Create Chat Topic to open the Create Network Topic dialog, enter the chat topic name in the Topic Name field, and click Create.
-
Select Edit Details to open the Edit Network dialog to update the network’s Name, Description, and Permission Type, then click Save.
-
Select Delete Network to open the Delete Network dialog to remove the network from your organization and click Confirm.
-
Select Leave Network to open the Leave Network dialog to have the organization leave the network and click Confirm.
Leaving a network is only performed by members of a network, not the network owner.
-
Select Request to Join Network if your organization is not a member of the network and the network is Public by Invitation Only.
Manage Your JX user groups
JX user groups are created in the Admin View in WebEOC Nexus and are then synced to this tab. See Manage JX User Groups for details.
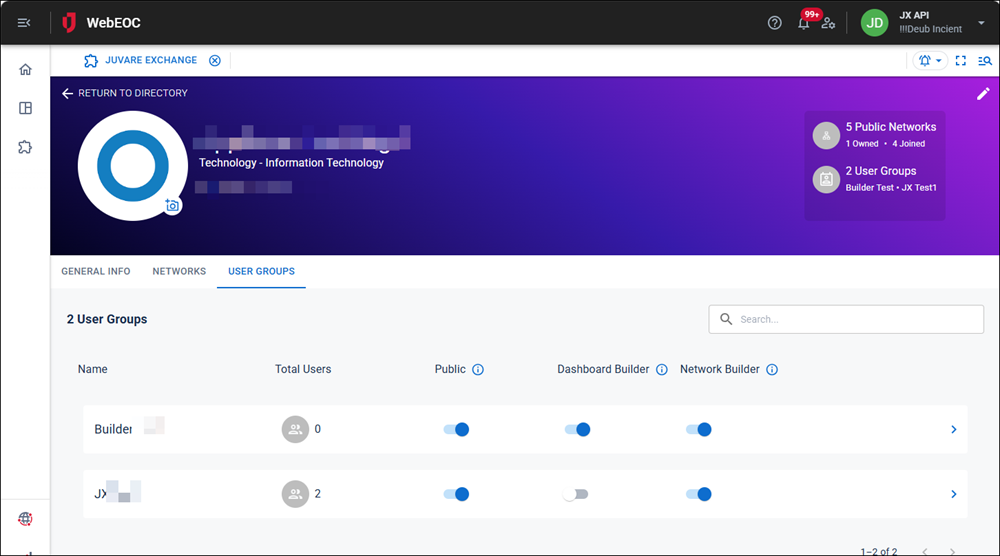
On the User Groups tab, you can:
-
Turn the Public toggle on to make the JX user group public. Public user groups appear on your organization profile at the top of the Directory page.
-
Turn the Dashboard Builder toggle on to allow the JX user group to create and edit dashboards, visuals, and sources in Juvare Analyze.
-
Turn the Network Builder toggle on to allow the JX user group to create and edit networks and topics.
-
Click the arrow on the right of the row to view the positions, groups, and users added to the JX user group in the Admin View.