Post a Message to EAS
To post a message to EAS
-
In the main menu, click the plug-ins icon. The Plug-Ins page opens.
-
Click IPAWS Messaging. The IPAWS Messaging page opens, displaying all messages in your Inbox.
-
Click Post EAS in the upper right.
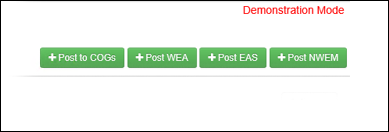
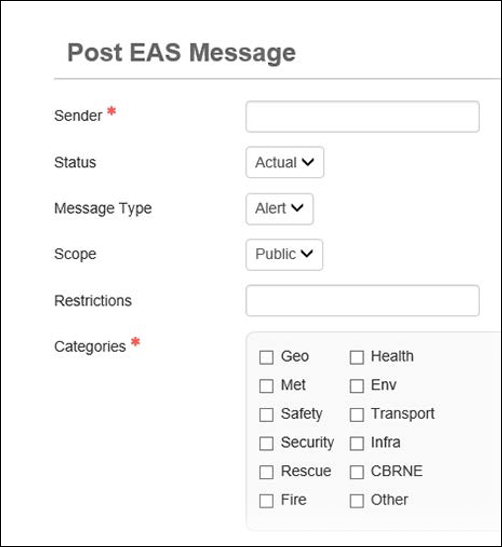
The Post EAS Message page opens.
-
Enter the message information in the fields.
EAS message fields Field
Definition
Sender
Individual sending the message.
Status
Status of the message.
Message Type
Type of message being sent.
Scope
Scope of the message.
Restrictions
Any restrictions that apply to the message.
Categories
All categories that describe the message.
Event
Type of event that originated the message.
Event Codes
A code that best describes the type of event.
Urgency
Urgency of the event.
Severity
Severity of the event.
Certainty
Certainty of the event.
Expiration Time
Time after which the alert is no longer valid.
Affected Areas
Counties in which the message should be distributed.
If you have permissions to send messages in more than one state, you can select counties in all states available to you. Click the Map button to draw the area of distribution on the map. You can also view the distribution area from the preview page. See Define a Distribution Area on a Map for details.
Response Type
Appropriate response for the event described in the message.
Headline
Headline for the message.
Description
Any additional details about the event.
Instructions
Instructions for the recipients on how to respond to the event.
-
Click Preview Message at the bottom of the page. The preview page opens.
If you want to make changes, click Cancel on the preview page. The Post EAS Message page re-opens.
-
Click Post Message.
Related Concepts
IPAWS Messaging User Guide Overview
Reference Materials
Related Tasks