Define a Distribution Area on a Map
When you create a message, you can use the map to draw the area where the messages should be distributed. This feature is useful when a distribution area does not align with county boundaries.
The ability to draw the distribution area is available for COGs, WEA, and EAS messages. You can also view the distribution area from the message's preview page.
To define the distribution area
-
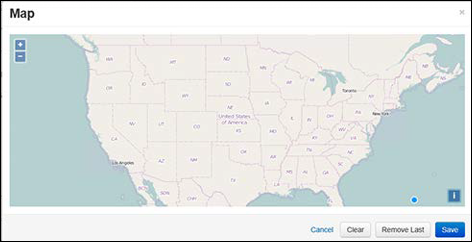
On the Post [Type] Message page, click the Map button below the Affected Areas field. The map opens.
-
Make sure the map displays the appropriate area. If necessary, use the magnification tools to locate the area.
Click the attributions icon to open StreetMap contributors.
-
Use your mouse to draw on the map, clicking each time you want to plant a data point, eventually creating a closed, multi-sided shape. Alternatively, double-click to close the shape at any time.
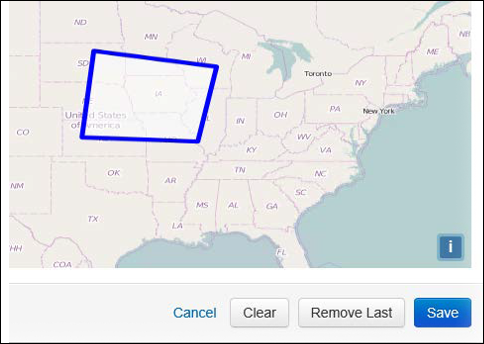
If more than one area has been affected, draw multiple shapes.
Click the Remove Last button at the bottom of the map to remove the shape drawn last. To remove all shapes, click Clear.
-
Click Save to return to the Post [Type] Message page.