Create User Accounts
As an administrator, you can grant access to DesignStudio by creating user accounts.
The number of user accounts that you can create is specified in your agreement.
When you create accounts, you decide on the rights and applications to which the person has access. Then, an email is sent to the person inviting them to log in.
You can perform the following actions with user accounts:
To create a user account
-
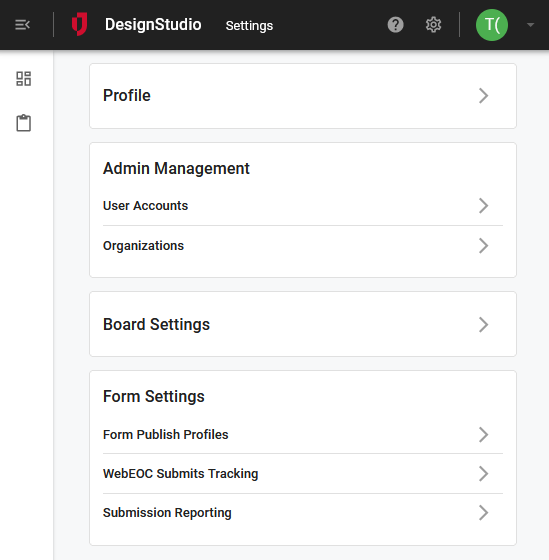
On any page, click the Organization Settings icon
 .
.
-
On the Settings page, under Admin Management, click User Accounts.

-
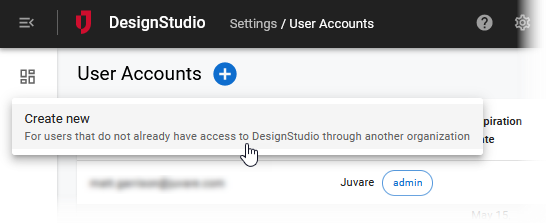
On the User Accounts page, click +.
-
Click Create new.

-
In the User Account window, provide the following details.
User Account fields Field Description Procedure Username
The email address of the person whose account you are creating.
Enter between 2 - 50 alphanumeric characters, including special characters.
First Name
The given name of the of the person whose account you are creating.
Enter between 2 - 50 alphanumeric characters, excluding special characters.
Last Name
The surname of the person whose account you are creating.
Enter between 2 - 50 alphanumeric characters, excluding special characters.
Enable invitation email
Sends an email invitation to the user for the new account. The email allows them to complete their account registration and access DesignStudio.
Select the checkbox to send the email.
Organization
The organization to which the user belongs. Organizations are created in WebEOC.
Select the predefined organization from the drop-down list.
Admin rights
Gives the user administrator rights.
Select the checkbox to give the user administrator rights.
Applications Access
Determines the applications that the user can access.
Select the appropriate permissions.
-
Boards
-
Pro
Expiration Date
Revokes the user's access on the specified date and time.
-
Click the field.
-
Select the date and time from the calendar when access will be revoked.
-
Click Ok.
-
-
Click Save.