Import Inventory
While you can import almost all inventory data, you cannot import any images. If you want to include an image in your inventory record, you must manually add it as an attachment afer creating the record.
You can also add inventory manually or clone an individual item.
To import inventory
-
On the Inventory tab, click the ellipsis in the top right.
-
Select Import Inventory.
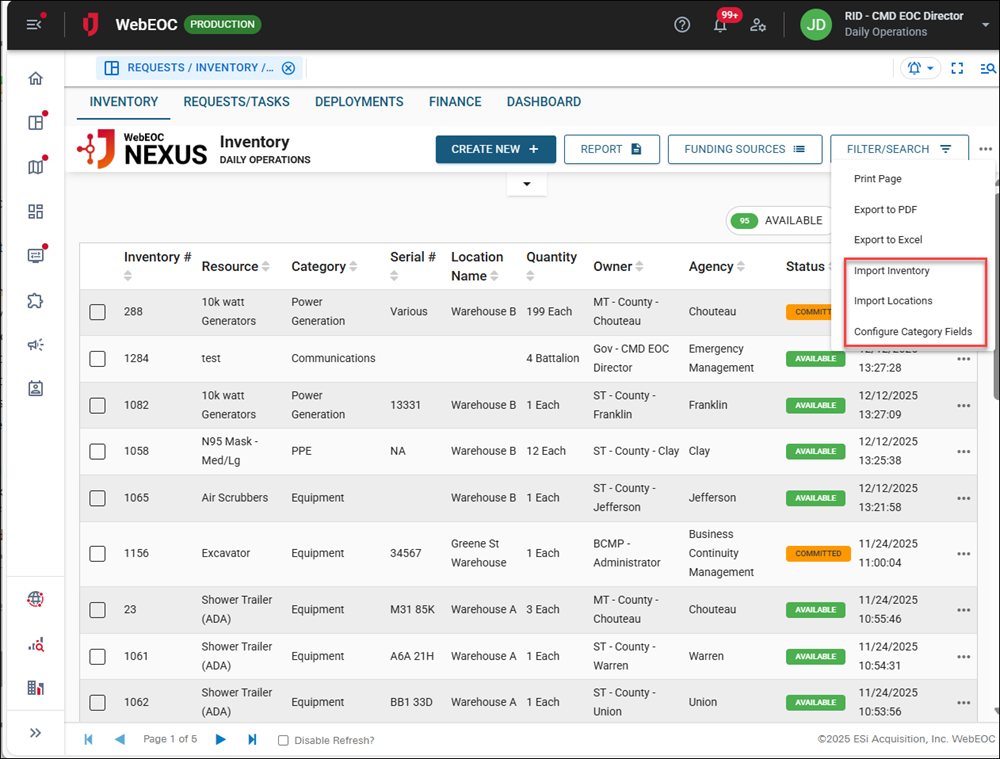
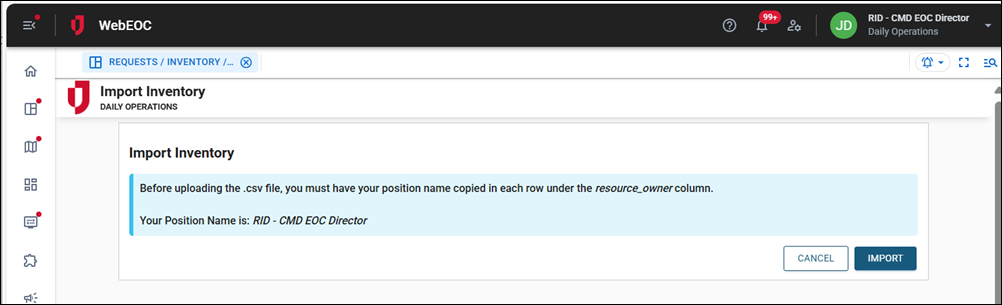
The Import Inventory page opens.
-
Note your position name on this window. You must copy it into the resource_owner column (column AB) in the template you will download in a step below.
-
Click the Import button in the bottom right.
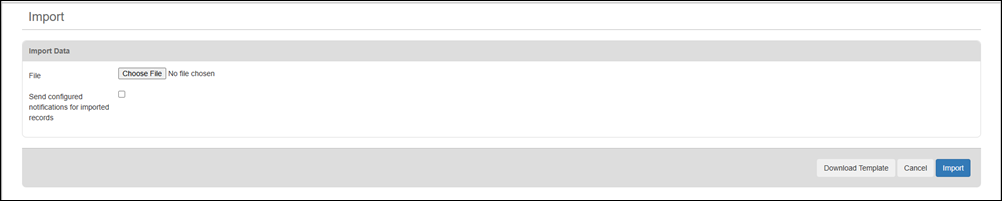
The Import page opens.
-
Click Download Template in the bottom right. A template.xls file is downloaded.
-
Open the file and complete the columns for the inventory.
Copy your position name into the resource_owner column (AB).
-
After saving the template.xls, return to the Import page and click the Choose File button.
-
Navigate to the template.xls file and upload it.
-
Click the Import button in the bottom right.
Your records are imported and display on the Inventory tab.
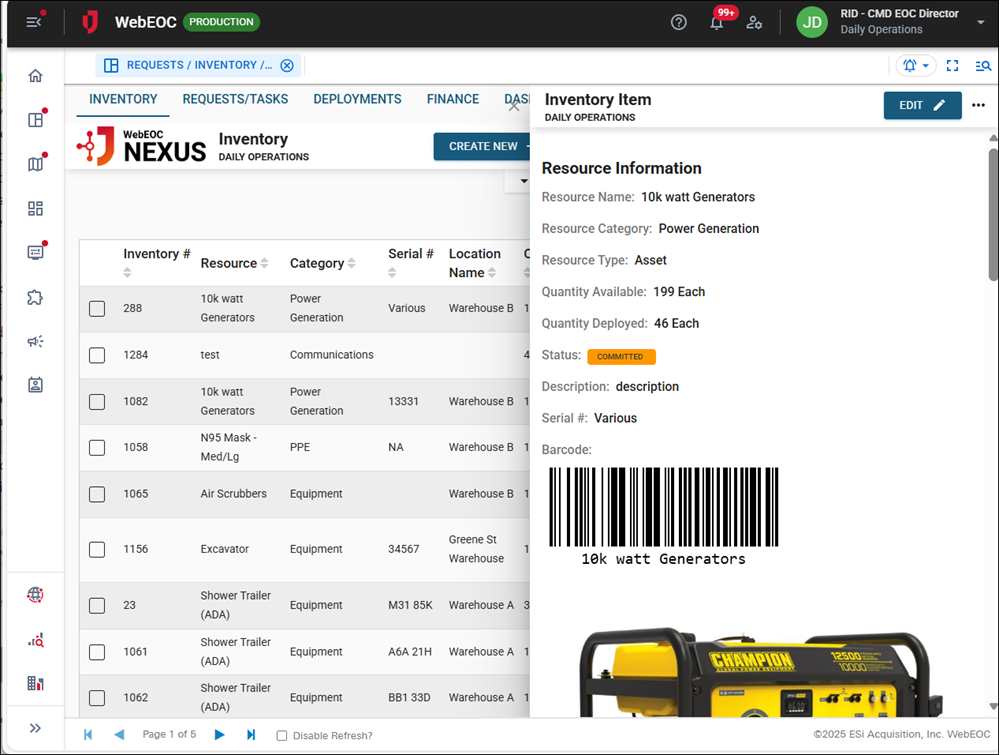
The system creates a unique barcode for each inventory item when the record is saved, eliminating the need for manual entry or taking images. If the inventory is imported or added manually, the system generates the barcodes regardless. These barcodes are used to scan the items. See Use the WebEOC Mobile App for Warehouse Operations for details.