Add Inventory
To add inventory you can:
-
Add individual inventory records manually
To add inventory items manually
-
On the Inventory tab, click Create New.
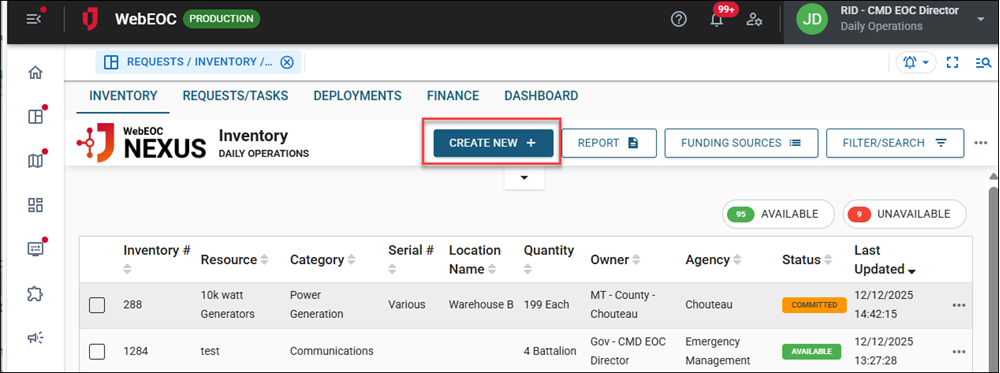
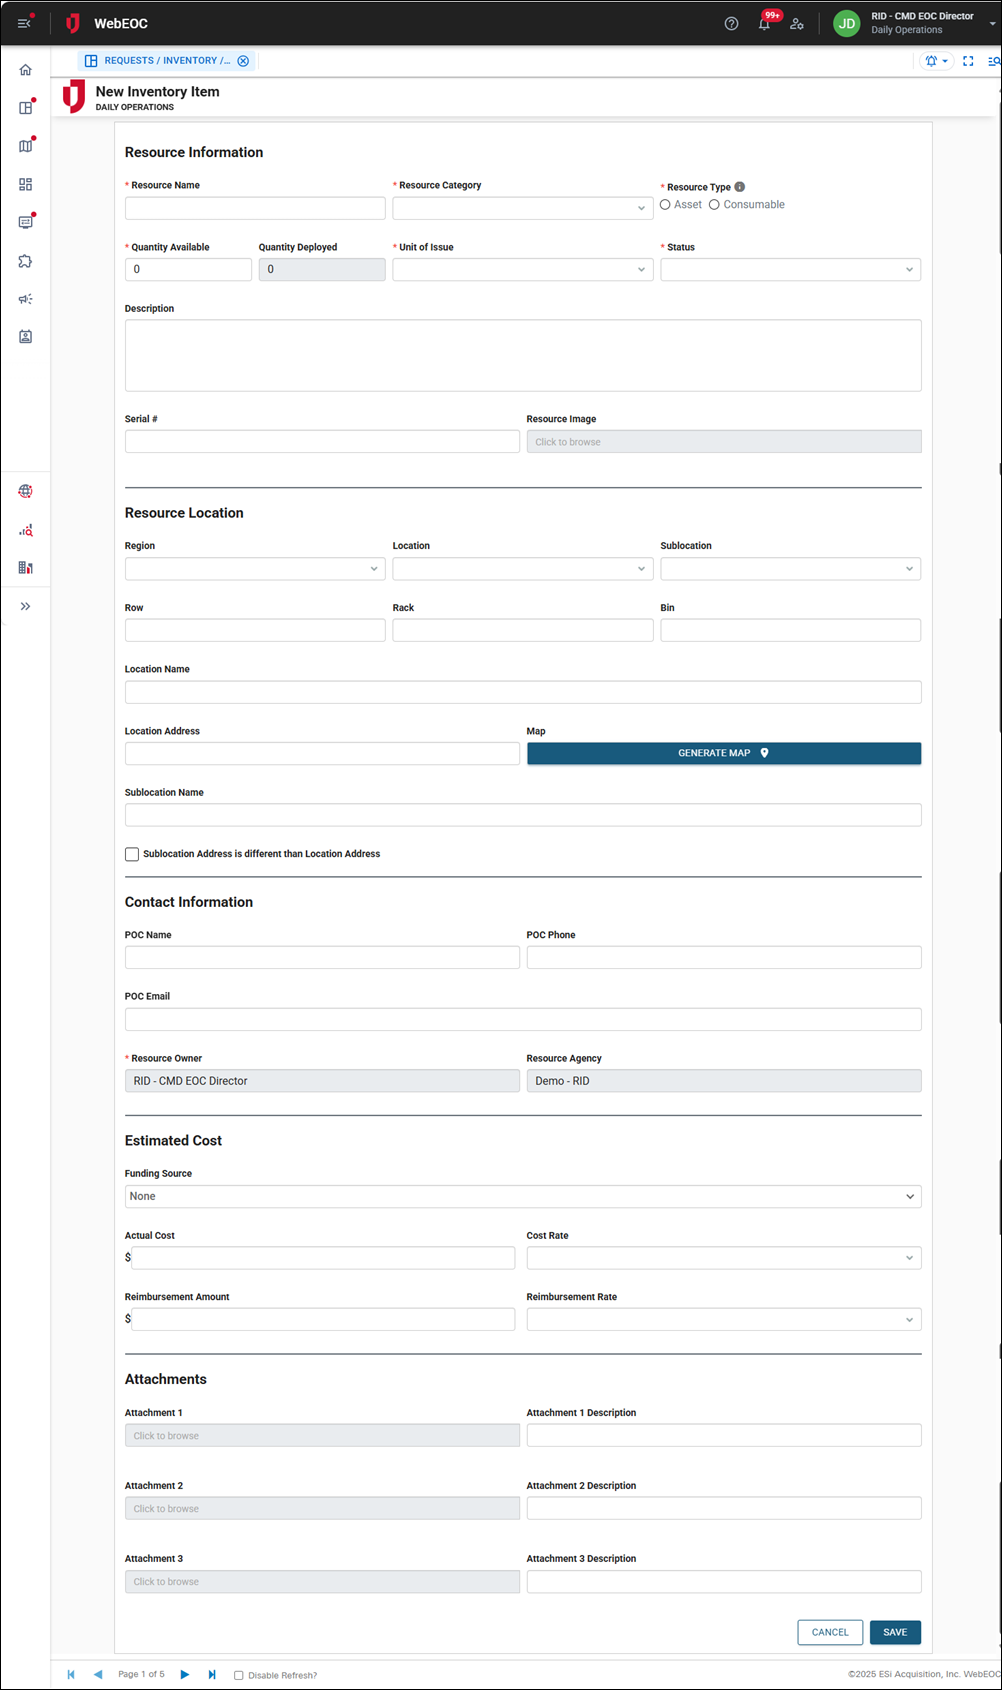
The New Inventory Item page opens.
-
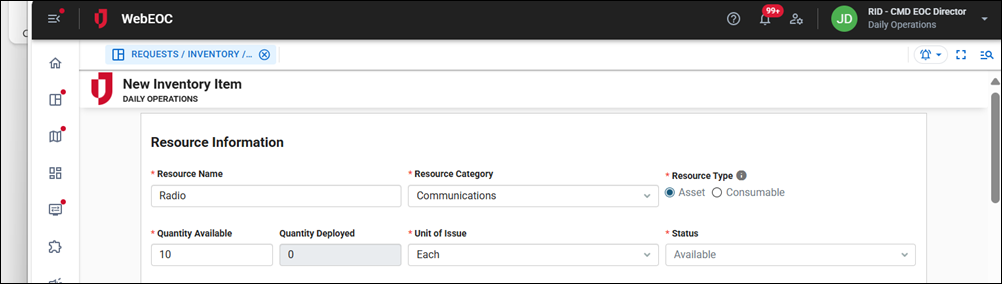
In the Resource Information section, in the Resource Name field, enter the name of the inventory item.
-
In the Resource Category dropdown, select the category that best describes the resource.
Depending on the category you select, the category fields configured for that category display.
-
For Resource Type, select either Asset or Consumable.
Assets are items that last a long time and are reusable, such as radios or vehicles. These are often costly and depreciate over time. Consumables, such as water or masks, are used up and regularly replaced. These items are lower cost and are not reusable.
-
In the Quantity Available field, enter the number of inventory items on hand.
-
In the Unit of Issue dropdown, select the unit of measure for the inventory item, such as each, case, gallon, and so on.
-
In the Status dropdown, select the appropriate status of the inventory item, such as available, in use, or unavailable.
-
In the Description field, enter a description of the inventory item.
-
In the Serial # field, enter the inventory item’s serial number.
-
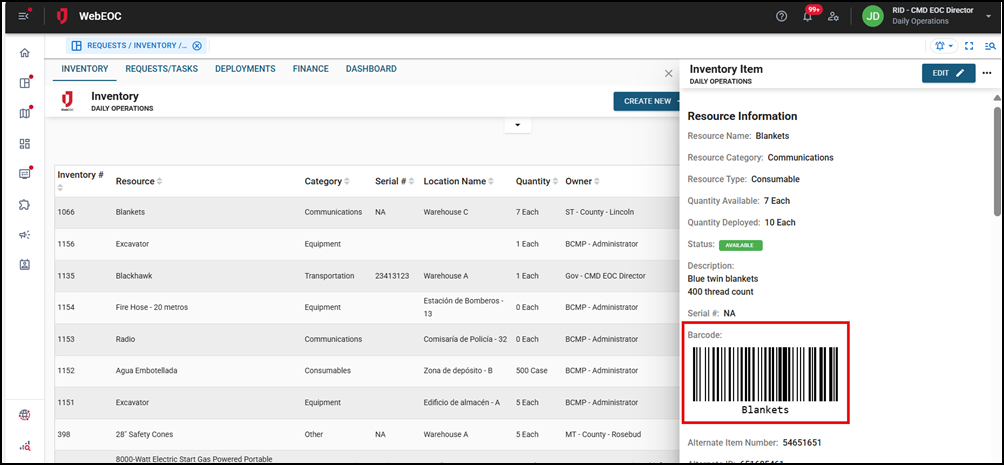
In the Alternate Barcode ID field, enter a barcode to use your own barcode that supports your preexisting agency-wide asset tagging system.
If you do not enter a barcode in this field, the system creates a unique barcode when the record is saved.
-
Click the Resource Image field to upload an image of the resource.
The remaining fields in this section depend on the category you selected. Complete them as needed.
-
In the Resource Location section, the Region, Location, and Sublocation dropdowns are populated with the previously configured location information. See Import Inventory Locations for details. Select a value from each of these dropdowns.
-
Complete the Row, Rack, and Bin fields to set the inventory location if necessary.
-
In the Location Address field, enter the address where the inventory is stored.
-
Click Generate Map to generate a map of this location.
-
Select the Sublocation Address is different than Location Address checkbox if this is the case and enter the sublocation address in the Sublocation Address field.
-
Click Generate Map to generate a map of the sublocation.
-
In the Contact Information section, in the POC Name field, enter the inventory’s point of contact name.
-
Complete the POC Phone and POC Email fields.
The Resource Owner field automatically populates with your Unified Command Platform position. If you have an agency assigned to your position, the agency automatically populates the Resource Agency field.
-
In the Estimated Cost section, in the Funding Source dropdown, select the funding source for this inventory item.
You can add funding sources. See Add Funding Sources for Inventory for details.
-
Complete the following fields related to the inventory item’s cost:
-
Actual Cost
-
Cost Rate
-
Reimbursement Amount
-
Reimbursement Rate
-
-
If the inventory item is an asset, a Maintenance section displays. Here, add a maintenance interval for the inventory item, which can be anywhere from a week to a year or other.
-
If you select the Other option, you can enter a custom maintenance interval.
-
The Next Maintenance Date field is populated after the inventory record is saved.
-
-
In the Attachments section, click in each field to open a window to navigate to an attachment to upload.
-
Click Save in the bottom right to save the inventory item.
If you did not complete the Alternate Barcode ID field as described in step 10 above, the system creates a unique barcode for each inventory item when the record is saved, eliminating the need for manual entry or taking images. If the inventory is imported or added manually, the system generates the barcodes regardless. These barcodes are used to scan the item. See Use the WebEOC Mobile App for Warehouse Operations for details.