Configure Branding
The first step in customizing the presentation of your WebEOC Nexus solution involves accessing the Agency Information page and providing some basic details, such as your name and logo.
In WebEOC Nexus 10.6 and later, the agency logo is uploaded on the homepages. For more information, see Create a Homepage.
To configure the agency template
-
In the main menu, click the system settings icon
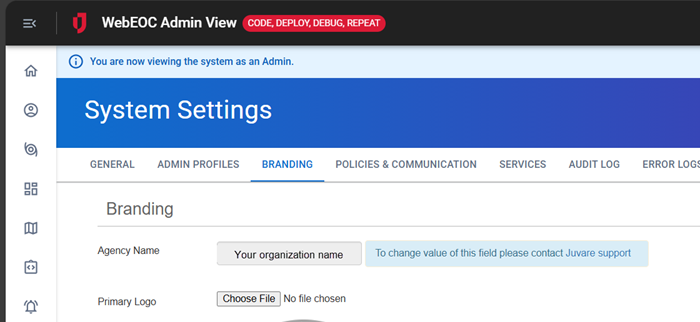
 . The System Settings page opens.
 - Click the Branding tab. The Branding page opens.
Starting with WebEOC Nexus 10.12.1, you can no longer update your Agency Name. Contact Juvare support if your organization name, as it appears in this field, is incorrect.
-
To upload your agency's logo, next to the Primary Logo field, click Browse.
The recommended logo size is 60x60 pixels.
-
To upload an additional logo, next to the Secondary Logo field, click Browse.
-
At the bottom, click Save.