Navigate the WebEOC Nexus Admin View
To access the Admin View
-
Log in to WebEOC Nexus as an administrator.
-
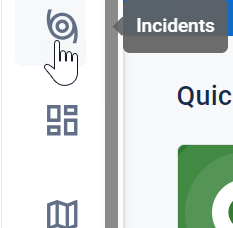
In the Top bar, click the admin view icon
 . The homepage for your administrator type and position opens.
Administrator types include:
-
Full administrator
-
Partial administrator, used with admin profiles
-
Sub-administrator, used with organizations
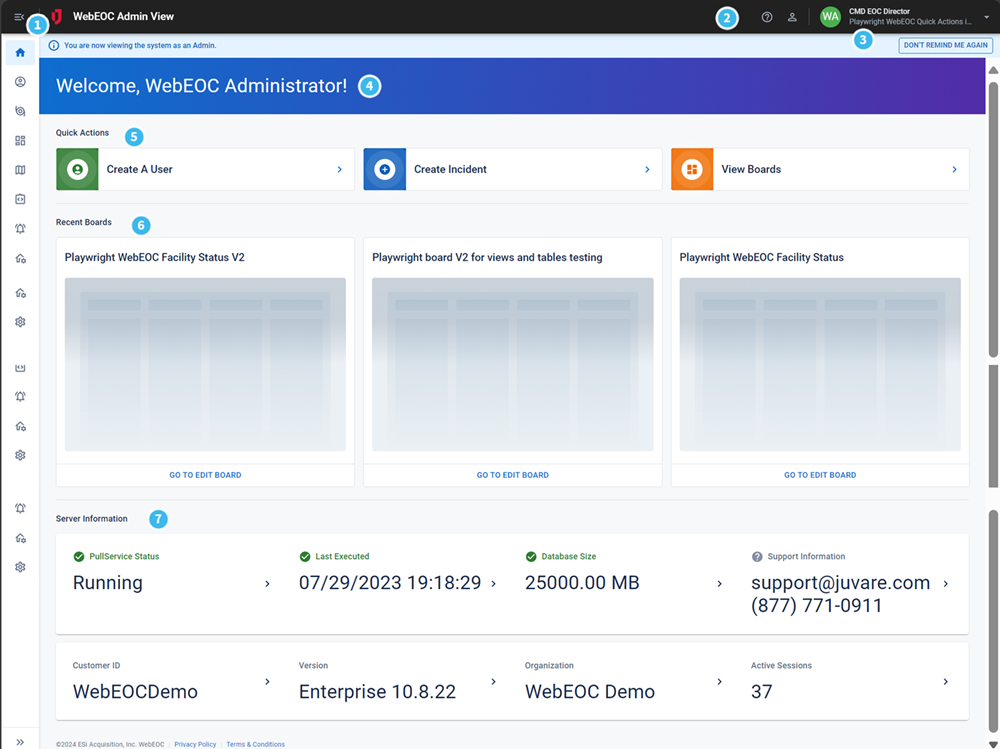
In addition to serving as a landing page for the Admin View, the administrator homepage includes the following elements.
| Number | Description | Procedure |
|---|---|---|

|
The main menu contains icons representing the pages your administration type and position can access. For details about each icon, see Admin View Landing Pages and Tabs. A red dot appears next to the main menu icon when one or more pages have been updated since you last viewed them
Show/Hide the Main MenuIf the main menu is hidden, meaning it is collapsed, open it by clicking the main menu icon. Show or expand the main menu to view the icons and their labels. When the main menu is shown, the icons always remain visible. To view the name of a landing page, move your pointer over the icon.
When the main menu is shown, a red number may appear next to page icons, indicating the number of updates since you last viewed the page. |
To access the main menu
|

|
These icons represent unique areas in the solution.
|
|

|
Your Position, current Incident, and Logout option. As an administrator, you decide if people can update their profile information. See Plan and Create User Accounts. |
To change your position or incident
To log out
|

|
Your user name. |
|

|
The Quick Actions that display depend on your administrator type and position. You may see up to three preconfigured shortcuts that allow you to quickly create a user, create an incident, or view a board. |
To activate a Quick Action On your homepage, under Quick Actions, click the arrow on a tile. Depending on the type of shortcut, one of the following results happens:
|

|
If your administrator type and position have permission to view boards, the three most recently edited boards display in the Recent Boards area. |
To open a board At the bottom of the tile, click Go To Edit Board. |

|
Server Information includes server and support information specific to your WebEOC Nexus instance. |
|