Manage User Access
To make IPAWS Messaging appear on the Plug-Ins page in the User View, you must assign this plug-in to a WebEOC Nexus feature group. For information on managing feature groups, see Plan and Create a Feature Group.
To assign IPAWS Messaging to a feature group
-
In the main menu, click the accounts icon
 . The Accounts page opens.
 -
Click the Groups tab.
-
Select the feature group you want to assign IPAWS Messaging to.
If the list of groups spans multiple pages, use the Filter field to find the appropriate group.
-
On the Groups: Edit Group page, go to the Settings section and click the Plugins tab.
-
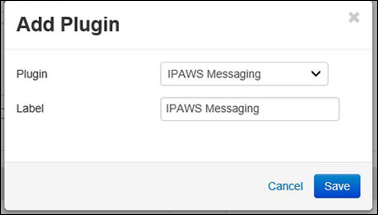
Click Add Plugin.
-
In the Add Plugin window, select IPAWS Messaging from the Plugin dropdown list. The Label field automatically populates with IPAWS Messaging.
Any users assigned to the plug-in have the ability to send public IPAWS messages. Thus, pay careful attention when assigning users so that only appropriate users are granted such access.
-
Click Save.
-
On the Groups: Edit Group page, click Save.