Build Templates in the Simulator Templates Builder
The Simulator A tool for constructing scenarios used for training, drills, and exercises. Templates Builder allows you to quickly create simulation scenarios for use within the WebEOC Nexus Simulator. By allowing the export of board table data into a Microsoft Excel® workbook and the import of simulation scenarios, the add-on helps to significantly minimize simulation development time and ensure consistency.
Download a Template
-
In the main menu, click the integrations button
 . The Integrations page opens.
 -
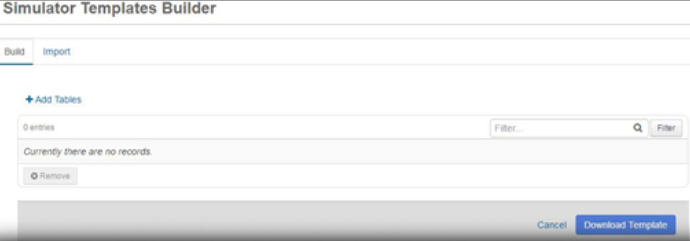
Click Simulator Templates Builder. The Simulator Templates Builder page opens.
-
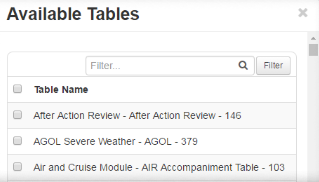
From the Build tab, click Add Tables. The Available Tables window opens.
-
Select the applicable tables from the list and click Add. The selected tables appear in the list of tables.
To include all tables, select the check box to the left of Table Name.
-
Click Download Template. Open or save the file.
The number displayed after the table name is the table ID in the WebEOC Nexus database.
-
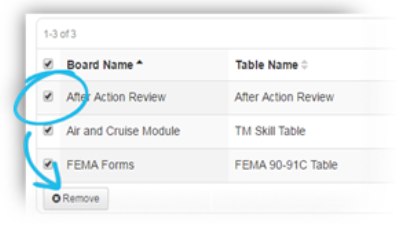
To remove a table, locate the appropriate table from the list and click its associated trash can button.
Alternatively, to remove multiple tables simultaneously, select the checkbox to the left of applicable tables in the list, and then click Remove.
About the Template
The downloaded template includes a worksheet for each table you included. Each table’s worksheet contains a header row that shows the included fields and a second row that provides guidance for completing each field. For data fields, the template indicates the type of data that can be entered and, where applicable, the maximum character length for the field.

Worksheets containing values for the completion of the template are also included in the template. The All_WebEOC_Positions and All_WebEOC_Users worksheets contain a list of all WebEOC Nexus positions and users so you can quickly and easily complete the simulation fields by copying field values from these tabs and pasting them into the appropriate cells in the table worksheets.

Drop-down lists and their associated values are found in the All_Table_Lists worksheet. The first column indicates the name of the list, and the second column includes the values that can be copied into the appropriate cells of the table worksheets.
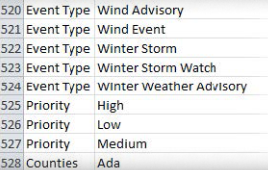
By default, the template includes tabs that contain field names, drop-down list values, and other relevant data. These tabs minimize the time it takes to develop the simulation, and they also help to ensure data accuracy and consistency.
Enter Data in the Template
Complete the template workbook by entering data in the appropriate fields of each table worksheet. Use the values in the workbook’s data tabs to supply values for relevant fields. Where appropriate, copy and paste values from other worksheets for lists, user IDs, and position IDs. When finished entering data into the template, name and save the workbook.
When copying a user or position value, be sure to include the user or position ID number and not the name. ID numbers can be found next to the associated position or username in the All_WEbEOC_Positions and All_WebEOC_Users worksheets.
The ETime fields are specific to the Simulator Templates Builder. These fields can be used to set the timing of injects and provide a reference number and synopsis to be included in the simulation.
Import the Simulation
-
On the Simulator Templates Builder page, click the Import tab.
-
For Simulation Name, enter a name for the simulation.
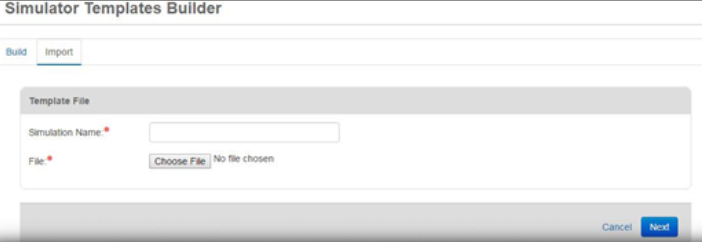
This name appears as the name for the simulation on the Simulations page.
-
Click Choose File and locate the workbook you completed for this simulation.
-
Click Next.
-
Click Confirm.
Any errors encountered during import appear in the Import tab. You can go back to the workbook to correct the necessary elements and attempt importing again.
After import, if you find the created simulation requires changes, you can make adjustments using the Simulator Manager or change the saved template directly and import it again as a new simulation.
Run the Simulation
-
Successfully import the simulation.
-
In the main menu, click the incidents icon
 . The Incidents page opens.
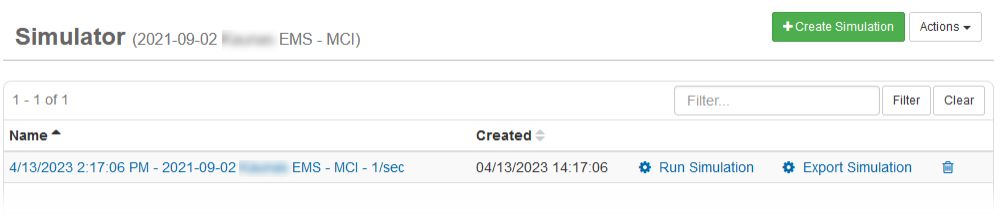
 - Click the Simulator tab.
-
Click the Run Simulation link associated with the simulation you want to run. The simulation control window opens.
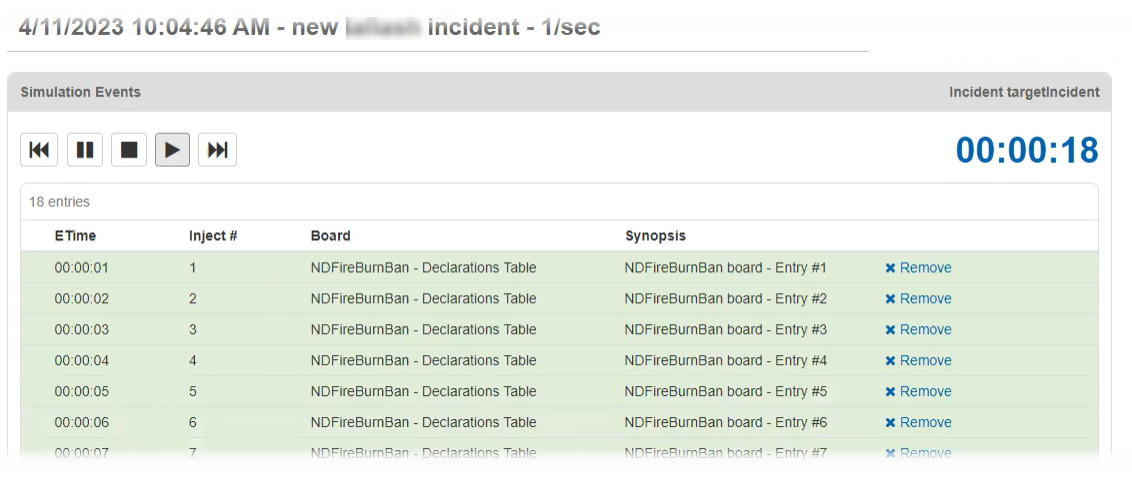
For more information on running simulations, refer to Run a Simulation.