Create a Link
WebEOC Nexus allows you to create links to URLs (Internet or intranet) and other applications, systems, or databases.

These links can appear in the main menu or within menus and provide direct access to a web page, directory, or file. When a link is accessed, the page or file opens in a separate browser window.
To create a link
-
In the main menu, click the workflows icon
 . The Workflows page opens.
 -
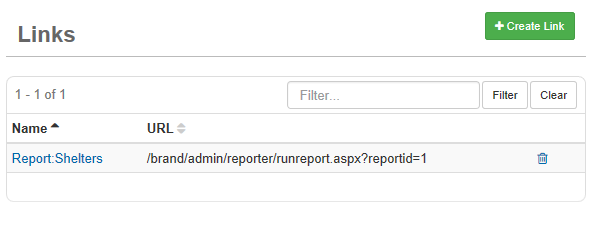
Click the Links tab.
-
Click Create Link.
-
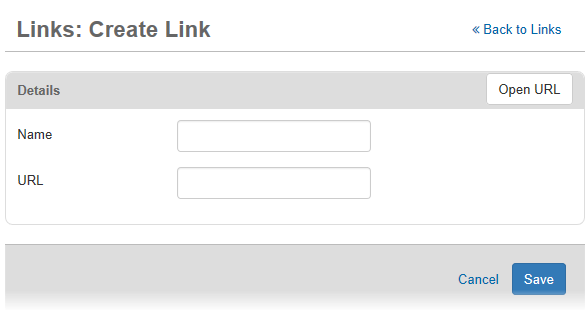
For Link Name, enter a name for the link.

The Name should be a proper name or meaningful phrase, not an address. The link's name is the label that appears on the user’s main menu.
-
Enter the URL address for the link.
The address can include a domain name or IP address as well as directory or file names. Be sure to follow URL conventions, such as specifying the protocol https:// and using the forward slash to separate directory names.
-
To test the link, click the Open URL button.
-
Click Save.
After you add the new link, you need to set access privileges to the link. Access privileges are configured in the Groups Manager. As a recommended best practice, to give users access to the link, assign the link to a feature group.