Create a Master View
Assign WebEOC Nexus incidents to a master view, creating a custom view for your organization that combines critical or current incidents in a single view.
To create a Master View
-
In the main menu, click the incidents icon
 . The Incidents page opens.
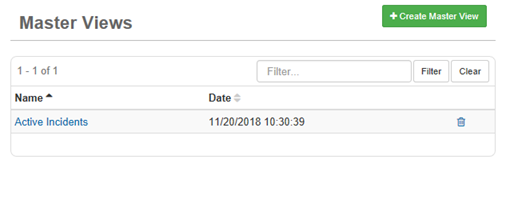
 - Click the Master Views tab.
-
Click Create Master View.
-
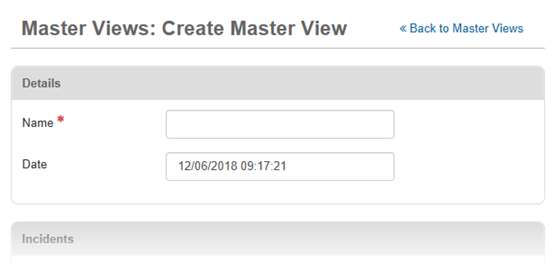
On the Master Views: Create Master View page, enter a name for the view.

-
The Date field is automatically populated with the current date and time. If you want to change the date, delete the text and enter a new date, formatted as mm/dd/yyyy hh:mm:ss (month, day, year, hour, minutes, and seconds).
The format is based on the locale settings for international compatibility.
-
In the Incidents section, click Add Incident and then select the incidents from the list that you want to assign to the master view. Any changes you make to incident assignments in the Master Views Manager automatically update in the Incidents Manager.
To select all the incidents, select the checkbox next to the Name column heading.
-
Click Add.
-
Click Save.

Related Concepts
Related Tasks