Create a User Dashboard View
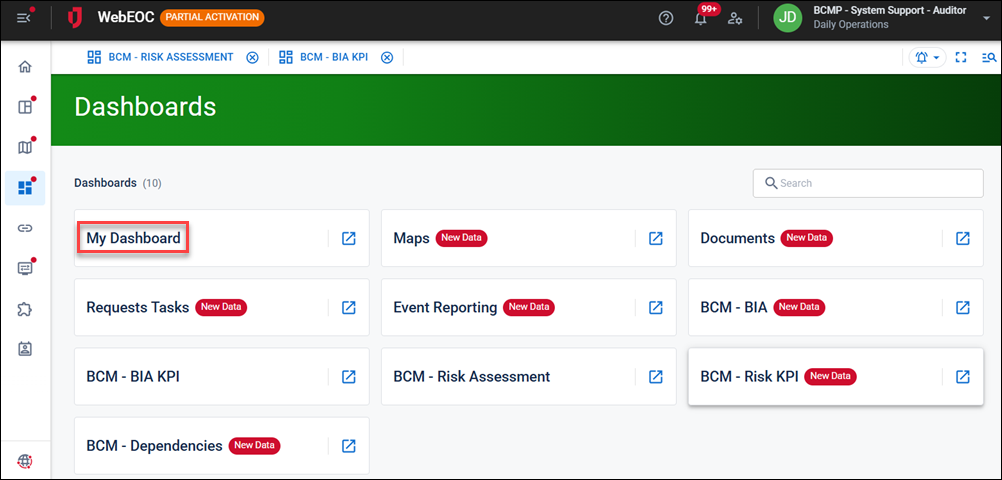
Users can build one custom dashboard for each position they are assigned to. They access this custom dashboard by clicking the Dashboards icon on the main menu in the User View then selecting My Dashboard.
Administrators must make the boards or maps to be used to build a custom dashboard available to users using the Dashboards admin manager.
To create a user dashboard view
-
In the main menu, click the workflows icon
 . The Workflows page opens.
 - Click the Dashboards tab.
-
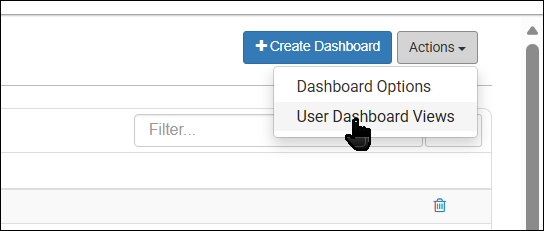
Click Actions and select User Dashboard Views. The User Dashboard Views page opens.
-
Click Create User Dashboard View.
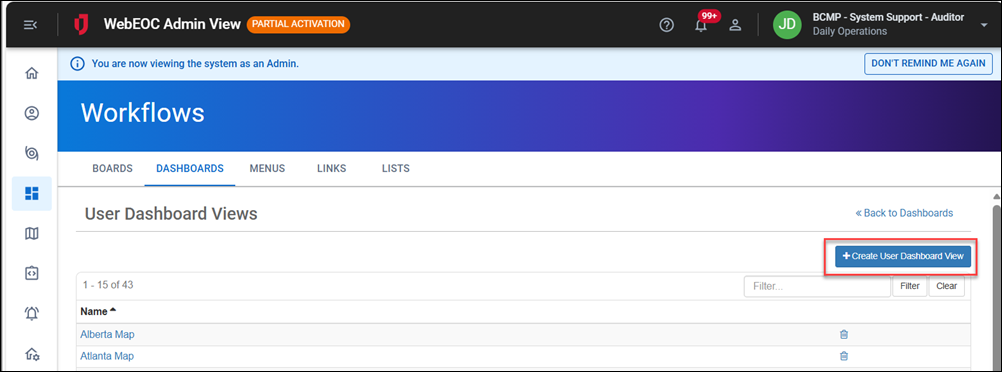
The User Dashboard Views: Create User Dashboard View page opens.

-
In the Details section, enter the name of the new user view.
Since boards have multiple views and you can assign multiple board views to a dashboard, the name of the view must be descriptive. For example, when creating an Event Reporting List view for the Logistics section, name the view LOG Event Reporting List.
If you are adding a map, add the word Map in this name.
-
For Item Type, select whether you want a board or map applied to the view.
-
If you select Board:
-
From the Board drop-down, select the board you want to apply the view for.
-
In the Display drop-down, select the Display view.
-
If filters appear in the View Filters section, select the checkbox for the applicable filter. Filters do not apply for every view.
-
-
If you select Map:
-
From the Map drop-down, select the applicable map you want to apply the view for.
-
-
In the Groups section, click Add Groups.
-
In the Available Groups window, select the groups you want to have access to this dashboard view.
You can select more than one group at a time.

To make the dashboard view available to all groups, select the checkbox next to the Name column. All groups are selected.
-
Click Add.
-
On the User Dashboard Views: Create User Dashboard View page, click Save.

When a user with the assigned position that belongs to the feature group accesses the Dashboards landing page, My Dashboard displays. That user can build one custom dashboard for each position they are assigned to using My Dashboard with the boards and maps that you have given them access to.
Related Concepts
Related Tasks