Create a Dashboard
You can also create a dashboard in DesignStudio Pro.
To create a new dashboard
-
In the main menu, click the workflows icon
 . The Workflows page opens.
 - Click the Dashboards tab.
-
Click Create Dashboard. The Dashboards: Create Dashboard page opens.

-
In the Dashboard Name field, enter a name for the dashboard.
Since boards have multiple views and you can assign multiple board views to a dashboard, the name of the dashboard must be descriptive. For example, when creating an Event Reporting dashboard for the Logistics section, name the dashboard Event Reporting - Logistics.
-
From the drop-down menu, select the number of boards or maps you want displayed in the new dashboard.
You can choose to view up to six boards in any given dashboard view.
-
Select a layout that best reflects how you want to view the content within the new dashboard.
-
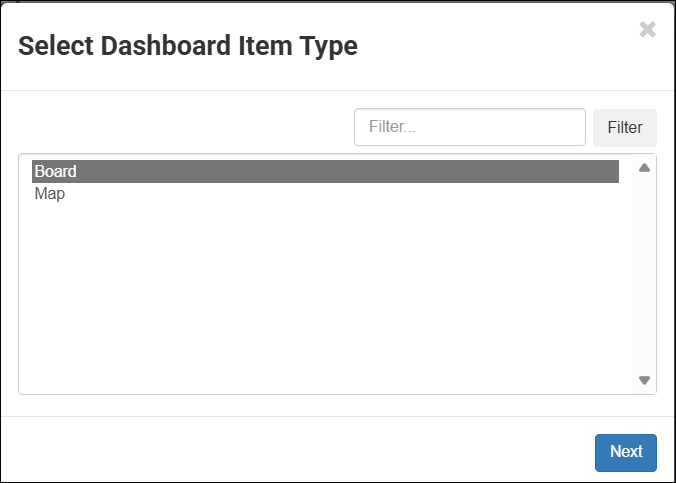
To add boards or maps, click any of the blue add icons. The Select Dashboard Item Type window opens.
-
Select either Board or Map, depending on what item you want included in the dashboard, and then click Next.
-
In the Select window, select the desired board or map from the list, and then click Next.
-
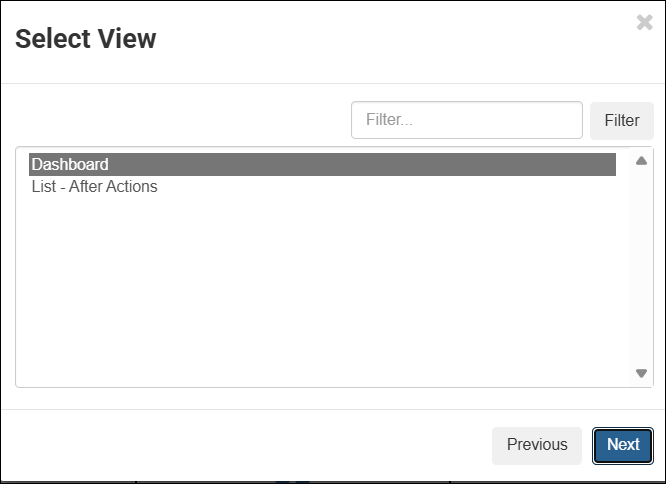
If you selected a board that has multiple views, the Select View window opens.
If the board has only one view, this window does not display.
-
Select the view of the board you want included in the dashboard, and then click Next. You are returned to the Dashboards: Create Dashboard page.
-
Repeat steps 7 through 12 until all of the add icons become delete icons and the names of your selected boards and maps appear in the chosen panes.

If you want to change a selection, click the delete icon. The blue add icon appears again and you can click it to select a new board or map.
-
Click Save.

After you add a new dashboard, you must set access privileges to it using the Groups Manager. As a recommended best practice, to give users access to the dashboard, assign the dashboard to a feature group.
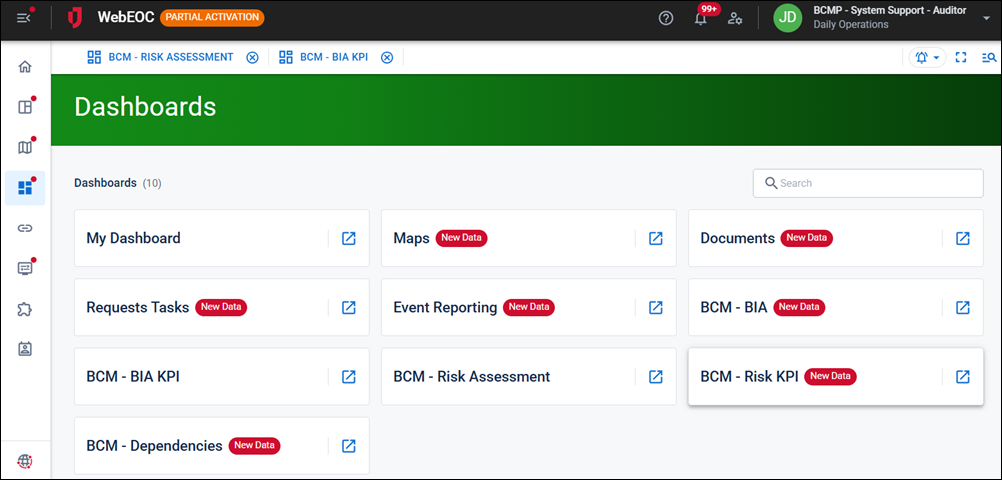
After the dashboard is added to the feature group, positions in that group can access it on the Dashboards landing page.
Related Concepts
Related Tasks