Create a Sub-List
After you create a list item, you can add a sub-list to it. You can add up to four nested sub-lists. For example, if you create a list called Georgia and add all counties as the list items, you could create a sub-list for every city in every county. You could further create a sub-list of the school districts in every city and another sub-list of the schools in each district.
To create a sub-list
-
In the main menu, click the workflows icon
 . The Workflows page opens.
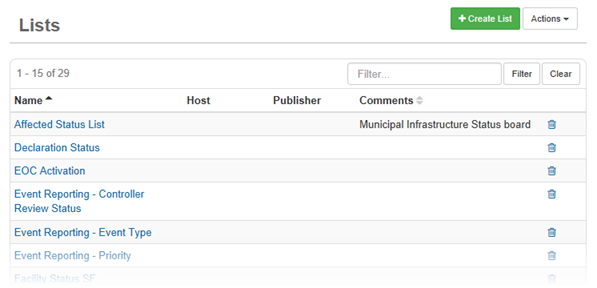
 - Click the Lists tab.
-
Click the name of the list. The Lists: Edit List page opens.
-
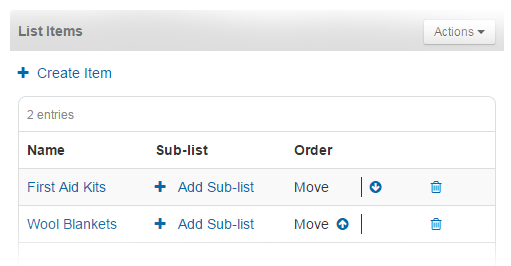
In the List Items area, on an item row, click Add Sub-list that is associated with the item to which you want to add a sub-list.

-
To add items to your sub-list, click Create Item.
-
Enter a name for the item.
-
Optionally, assign a color to the item. You can click inside the Color field, and then use the cross hair icon to select the color. Alternatively, enter a color code in this field.
-
To select an icon from a database:
-
Click Select Icon. The Select Icon window opens.
-
Click the icon that you want to represent the list item. The icon will appear on maps that the list is associated with.
-
To select your own custom icon, click Upload Icon, and then follow browser prompts to locate and open the appropriate file on your computer.
This option is only available to organizations with the Maps add-on.
-
-
If the list item is reserved for use by a specific group of users with access to the list, select the Apply Permissions checkbox. If you want the list item to be available to all users with list access, do not select the checkbox.
-
If you selected the Permissions checkbox, apply the permissions by doing the following:
-
In the Group Permissions section, click Add Group.
-
Select one or more group names in the list.
-
Click Add.
-
-
Click Save.
-
Repeat steps 4-10 to build your sub-list.

Related Concepts
Related Tasks