Create Tag Groups
For easier handling, tags are organized into tag groups. When you create a tag, you can either add it to an existing group or set up a new group.
To create a tag group
-
In the main menu, click the integrations icon
 . The Integrations page opens.
 -
Click the WebEOC Tagging tab.
-
In the top left, click Add Tag Group.
-
Enter a group name.
-
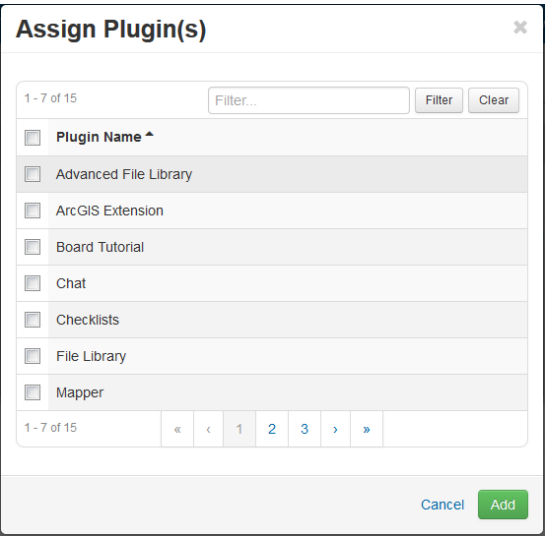
Click Assign Plugin(s). The Assign Plugin(s) window opens.
-
Select each plugin you want to assign to the tag group, and then click Add.
-
Click Save.
To add a tag to a group
-
In the main menu, click the integrations icon
. The Integrations page opens. -
Click the WebEOC Tagging tab.
-
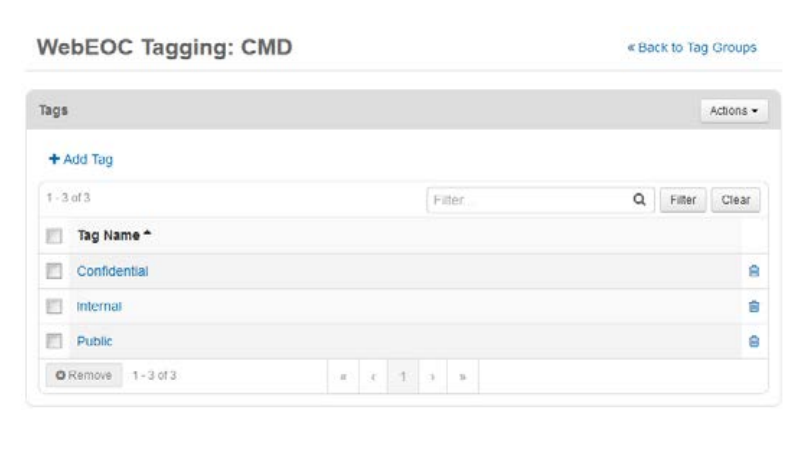
Locate the appropriate group and click the view tags icon associated with it. A Tags section opens.
-
Click Add Tag.
-
Enter a name for the new tag.
-
Click Save.