Create a Form From a Published Board Workflow
A publish profile must exist before you can create a form. See Add Form Publish Profiles
To create a form
-
With the board open in Design mode, on the upper right, click Create > Form.
-
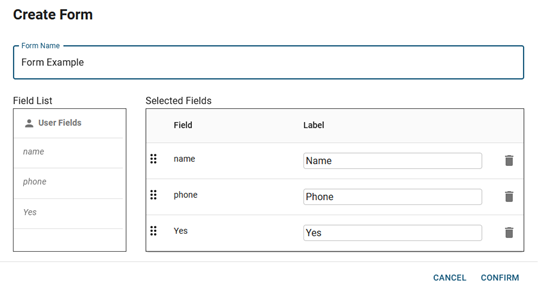
In the Create Form window, enter a name for the form. The name of the form is also used for the header (title) of the form.
-
For Associated Input View, select the Input view you want to use for the form. The bottom portion of the window displays the fields that were created in the Input view you selected. The Selected Fields area displays the fields that are currently mapped to the WebEOC board. You can use any or all of these fields in your form.
To use components that are not mapped to the board (not in the list view), add them to the Input view and republish the board. See Views and Publish a Board.
-
-
To remove fields from the form, click the delete icon.
Deleting a field from a form does not delete the field from the Input view. When you publish the form, validation will display the following message: These WebEOC board’s input view fields have no matching form fields: [deleted field name]. You can ignore this message and publish the form.
-
To change the label, edit the label.
-
To move the fields up or down in the form, drag them to their new position.
-
-
Click Create. The form is created and appears in the Forms Gallery.
Next steps are: