Plan and Create an Organizational Group
Before creating an organizational group, determine the organizational group’s information and permission requirements. To help you make these determinations, answer the following questions:
-
Is there an existing organizational group or set of organizational groups with the proper permissions that would meet the needs of the users? Does a new organizational group need to be created?
-
Which positions will be assigned to the organizational group?
-
Which process permissions are to be assigned to the organizational group?
-
Should you create organizational groups for geographical regions, jurisdictions, agencies, functional disciplines, or branches?
Example You may want to send notifications to all positions in a specific geographic region, such as Smith county. You can create positions for users located in Smith county, then assign those positions to an organizational group. When sending notifications, such as alerts or board notifications, you can select the organizational group to send the notification to all users in that region.
Create an Organizational Group
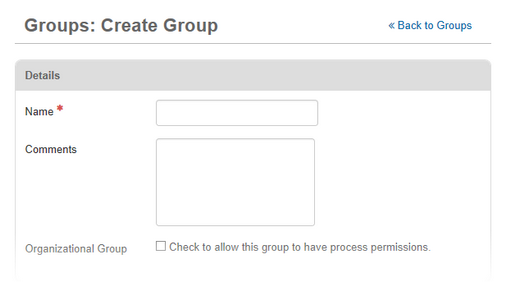
The Create Group page allows you to create an organizational group and add positions to the group.

You can save the organizational group at any point during the setup process. You can also do the following actions:
-
On any Settings tab, to remove an item you added to the organizational group, select the item's checkbox in the list and click Remove.
-
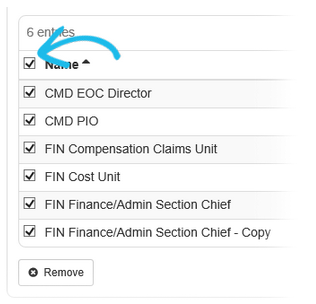
To select all items in a list, select the checkbox next to the Name column heading.

-
You can select the delivery methods that users in organizational groups can use when they send notifications using the alerts plug-in. For example, you can restrict one organizational group to only sending Inbox notifications, while another organizational group can choose between all available delivery methods. See Define which delivery methods can be used by a group.

To create an organizational group
-
In the main menu, click the accounts icon
 . The Accounts page opens.
 -
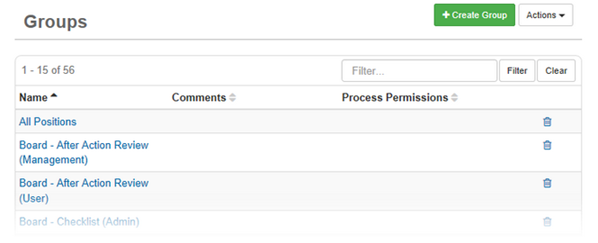
Click the Groups tab. The Groups page opens.

-
Click Create Group.
-
For Name, enter a descriptive name for the organizational group.
-
For Comments, enter a description or additional information about this organizational group.
It is important to note whether there are any system dependencies on the naming or existence of the organizational group.
-
Select the Organizational Group checkbox.
-
If applicable, do any of the following actions, and then click Save:
 Assign positions to the organizational group
-
In the Settings area, if it is not already selected, click the Positions tab, and then click Add Position.
-
In the Add Position window, assign one or more positions to the organizational group by selecting the positions in the list.
-
Click Add.
 Define which delivery methods can be used by an organizational group
-
In the Settings area, click the Plugins tab, and then click Add Plugin.
-
For Plugin, select the applicable plug-in.
-
In the Settings area, select Plugin Settings.
-
Select the delivery methods that the organizational group can use. These methods appear on the New Notification page when a user belonging to this organizational group creates a new notification.
-
Click Save.
-