Create a Checklist
The Checklist board is the preferred tool for creating and using checklists. Use it instead of the Checklists Manager.
Use checklists to outline the tasks that must be completed before, during or after an event. These tasks can have a due date/time, and they can be assigned to specific individuals for completion.
To create a checklist
-
In the main menu, click the integrations icon
 . The Integrations page opens.
 -
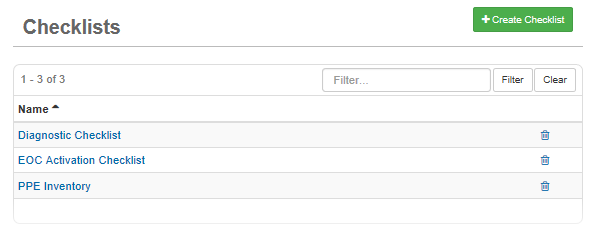
Click the Checklists tab.

-
Click Create Checklist.
-
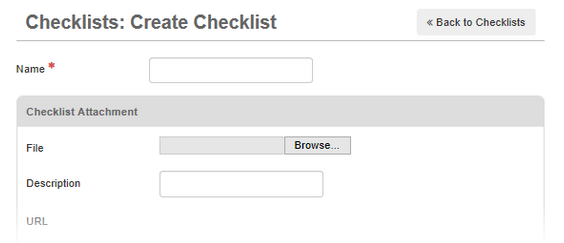
On the Checklists: Create Checklist page, enter a name for the new checklist.

-
Click one or more groups to assign to the checklist.
-
To add a group to the list, click Add Group.
-
To remove a group, select the group, and then click Remove.
-
-
If appropriate, add an attachment:
-
In the Checklist Attachment section, for File, click Browse or Choose File.
-
Locate the file you want to attach and click Open.
-
To replace the existing file, upload a new file in its place.
-
To upload multiple files, create a zipped file.
-
-
-
Enter a description for the file you uploaded.
-
Click Save.
After you save the checklist, the URL area populates with the location of your uploaded file. You can now add items to the checklist.