Create an Incident
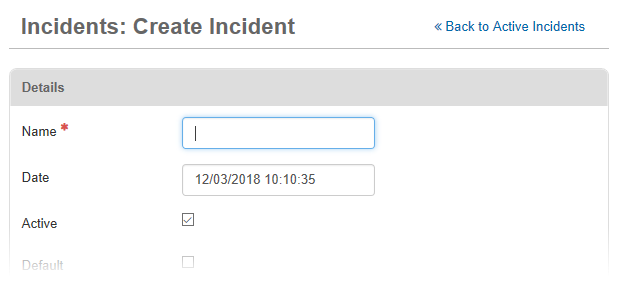
Use the Incidents Manager to quickly create an incident. Upon creation, the new incident's date is automatically set to the current date and time. You can, however, change this information if needed.
Additionally, when creating an incident you can set the incident to appear as the default when users log in to WebEOC Nexus. The last incident selected as the default by the administrator overrides the previously set default. Despite the existence of a default incident, the user can select a different incident to log in to if they are a member of a group assigned to that incident; in order for users to access an incident, a WebEOC Nexus administrator must assign it to their group or groups.
You can also import an incident for use in a simulations. See Import an Incident for details.
To create a new incident
-
In the main menu, click the incidents icon
 . The Incidents page opens.
 -
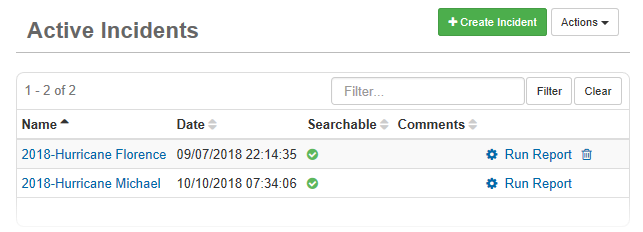
On the Incidents tab, cick Create Incident.
-
Enter a name for the incident.

-
If applicable, change the date by deleting the text and entering a new date using this format: mm/dd/yyyy hh:mm:ss (month, day, year, hour, minutes, seconds).
The format is based on the locale settings for international compatibility. If you use an invalid format or leave the Date field blank, you cannot save the incident and an error message appears in red next to the Date field.
-
By default, the incident is created as an active incident. If you want to change it to an inactive incident, clear the Active checkbox.
-
If you want the incident to appear as the default when users are logging in to WebEOC Nexus, select the Default checkbox.
-
If you want the incident to be searchable using the WebEOC Nexus search tool, select the Searchable checkbox.
-
If Juvare Exchange (JX) has been enabled and you want to share mapped data for this incident with JX, select the Share with JX checkbox.
-
Optionally, in the Comments text field, enter any additional information regarding the incident.
-
Select one or more groups to assign to the incident:
-
In the Groups section, click Add Group.
As a recommended best practice, add incidents to feature groups. To grant all users access to incidents, if appropriate, assign incidents to a feature group that uses the naming convention *All Positions* that includes all positions.
-
Click one or more groups from the list. To select all the groups, select the checkbox next to the Name column heading.
-
Click Add.
-
-
Optionally, select a master view:
-
In the Master Views section, click Add Master View.
-
Click one or more views from the list. To select all the views, select the checkbox next to the Name column heading.
-
Click Add.
See Master Views for more details
-
-
Click Save.

Related Concepts
Related Tasks