Assign Maps
Assigning maps to users, positions, and group follows a similar process as assigning boards or plug-ins to these same entities. Users must be assigned to a position. Positions can then be assigned to feature groups. Feature groups can be assigned positions, incidents, boards, plug-ins, links, menus, and maps. Thus, you may need to create a new feature group specific to the map you want a certain collective of positions to have access to.
To assign maps to groups
-
In the main menu, click the accounts icon
 . The Accounts page opens.
 - Click the Groups tab. The Groups page opens.
-
Click the name of the feature group you want to assign a map to. The Groups: Edit Group page opens.
-
Go to the Settings section and click the Maps tab.

-
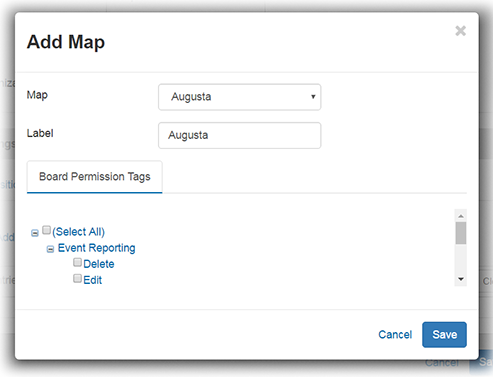
Click Add Map. The Add Map window opens.

-
For Map, select the map you want the group to have access to.
-
For Label, enter a name for the map that will make it readily identifiable in the main menu.
-
For Board Permission Tags, select all permissions associated with the boards listed that you want the assigned users to have when viewing the map. Depending on the board, permissions may include Edit or Delete permissions.
The use of board permissions allows for the assignment of the same map to multiple groups of users with different permission levels. If permissions are not listed, no board permissions were found for the board.
-
Click Save.