Create a Simulation
Test your organization's readiness for an unexpected emergency incident of any scale using the Simulator Manager. WebEOC Nexus offers this robust manager for the purpose of testing your readiness with not
only WebEOC Nexus, but also your organization's overall readiness for an unexpected event.
To create a simulation
-
In the main menu, click the incidents icon
 . The Incidents page opens.
 - Click the Simulator tab.
-
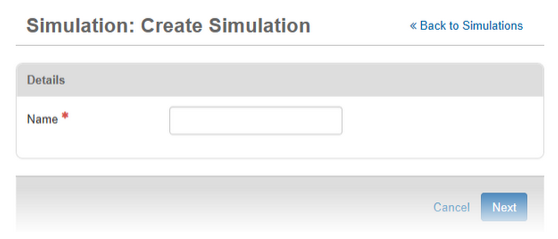
Click Create Simulation. The Simulation: Create Simulation page opens.

-
Enter a name for the simulation.
-
Click Next.
-
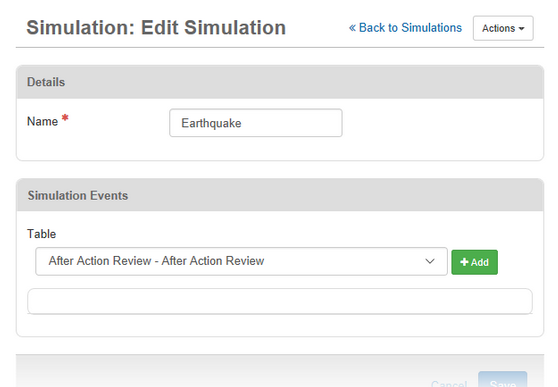
From the Table drop-down list, select the board you want to add an inject to and then click Add.

-
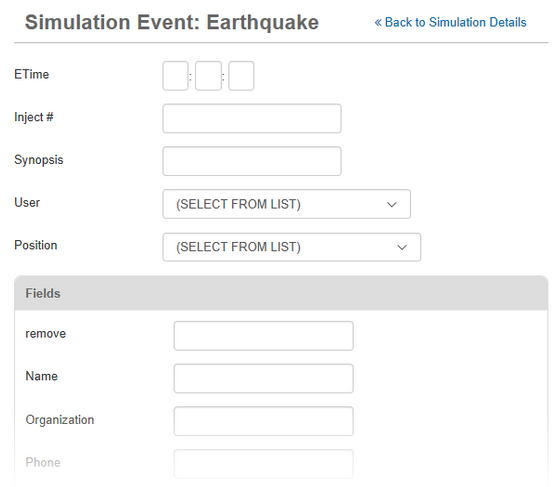
On the Simulation Event: [Simulation Name] page, indicate the time using one of the following methods:
-
Enter the ETime using the format hh:mm:ss (for example, 01:15:30).
-
If the entry is to be manually injected at an indeterminate time, maintain the default ETime of 00:00:00.
It is not necessary to enter a leading zero for single digit entries.
The ETime is the amount of time that is expected to lapse from the Simulator start time to the time the entry is auto-posted to the status board. When the ETime for the entry is reached, Simulator posts the entry, and the current date and time appear on the board.

-
-
Enter an Inject # (identifier), if applicable.
-
If appropriate, for Synopsis, enter a short summary of the simulation.
This synopsis, in conjunction with an Inject # (if applicable), appears in the list of events on both the Edit Simulation and Simulation Run pages. These two pieces of information can facilitate locating a specific entry on the Simulation Run page.
-
Click the User drop-down list and select the appropriate option.
-
Click the Position drop-down list and select the appropriate option.
-
Some boards contain date and time fields. These fields have [Offset Days] or [Offset Hours] next to them.
-
-
If the board you are configuring does not include an offset day or time, skip to step 12. Otherwise, configure the offsets:
-
In each appropriate field marked [Offset Days], enter a positive or negative number.
-
In each appropriate field marked [Offset Hours], enter a positive or negative number.
For more information on offsets, see Simulator Overview.
-
-
Complete the remaining data fields as applicable.
-
Since each board contains a unique set of data fields, the list of data fields varies.
-
-
Click Save.
-
For each additional inject to your simulation, repeat steps 7-15.
-
After you have added all injects to the boards selected for your simulation, click Save.
