Views and View History
About Views
In WebEOC Nexus, users enter information that is viewed in a pre-defined format. Users input information through a data entry window. The resulting output is displayed in the view.
In the Boards Manager, the terms “input view” and “display view” simply mean the data entry window (input view) and the window to view data (display view).
The ability to create multiple input and display views allows an organization to record sensitive information while at the same time restricting unauthorized access to some or all the data entered. For example, the input view for a Victims status board may include a field to record victim names. Two display views are added: one view is intended for hospital use only and includes victim names, and a second display view used by media personnel hides the sensitive information. The display view that includes victim names would be assigned to a Hospital group, while the view that excludes victim names would be assigned to a Media group, ensuring sensitive information is restricted on a need-to-know basis.
WebEOC Nexus allows you to create boards that have single or multiple input and display views based on a single table or multiple tables. These tables correspond to a table in the underlying SQL Server database. This allows an agency to record and filter sensitive information while at the same time restricting unauthorized access. It also provides an easy method of implementing processes through WebEOC Nexus.
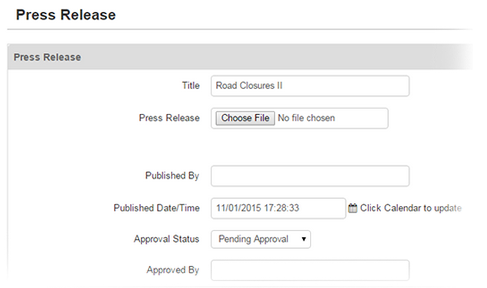
Input View
The following is an example of an input view:

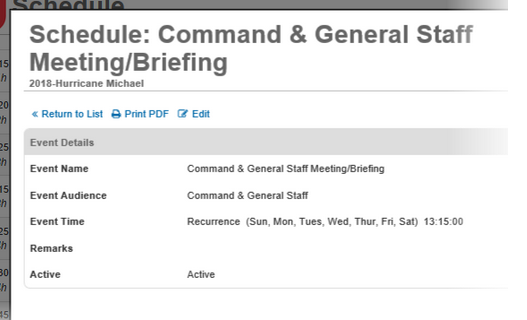
Display View
The following is an example of a display view:
View History
Each time a view is saved, a version is stored and added to the list in the History section.
-
Each version of a view can be viewed or restored.
-
With each save, a copy (version) of the view is stored along with a record of the date/time, comments, errors, and the user who modified the view.
-
Restoring a view makes it the current/active view and replaces the existing view code.
-
When a user restores a view, a new history record with an updated timestamp is created.
To access the history of a view
-
In the main menu, click the workflows icon
 . The Workflows page opens.
 -
On the Boards tab, click the name of the appropriate board. The Edit Board page opens.
-
Click Board Editor.
-
Click a view.
-
Scroll to the bottom of the page. The History section displays a complete list of versions of the view.

To restore a version
-
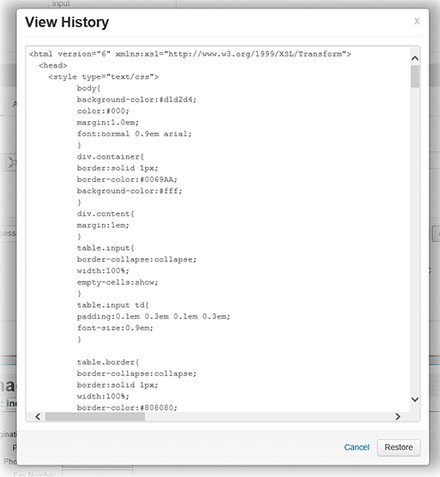
In the History section, navigated by using the steps above, click the date of the applicable version. The View History window opens.

-
In the lower left corner of the window, click Restore.
-
Click Save.
