Navigating the Mobile App
The steps on this page will navigate you through the primary screens you encounter while using the Crisis Track mobile app, as well as the high-level process flow. For more detailed instructions on specific actions within the mobile app or for settings, refer to the other pages in this section.
If you want to track resources instead of collect data, refer to Tracking Resources, as most of the screens on this page are for working in data collection.
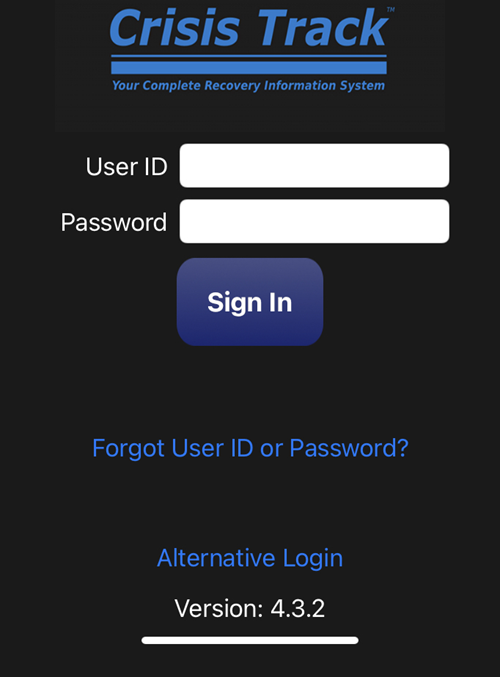
Your administrator will provide you with a username and password. If you already have access to the Crisis Track Desktop Console, you can also log in to the Apple iOS, Android, or Windows mobile apps using the same credentials.
The next step, after logging in, is to choose which Incident you will be working in. Tap the Incident you've been assigned.
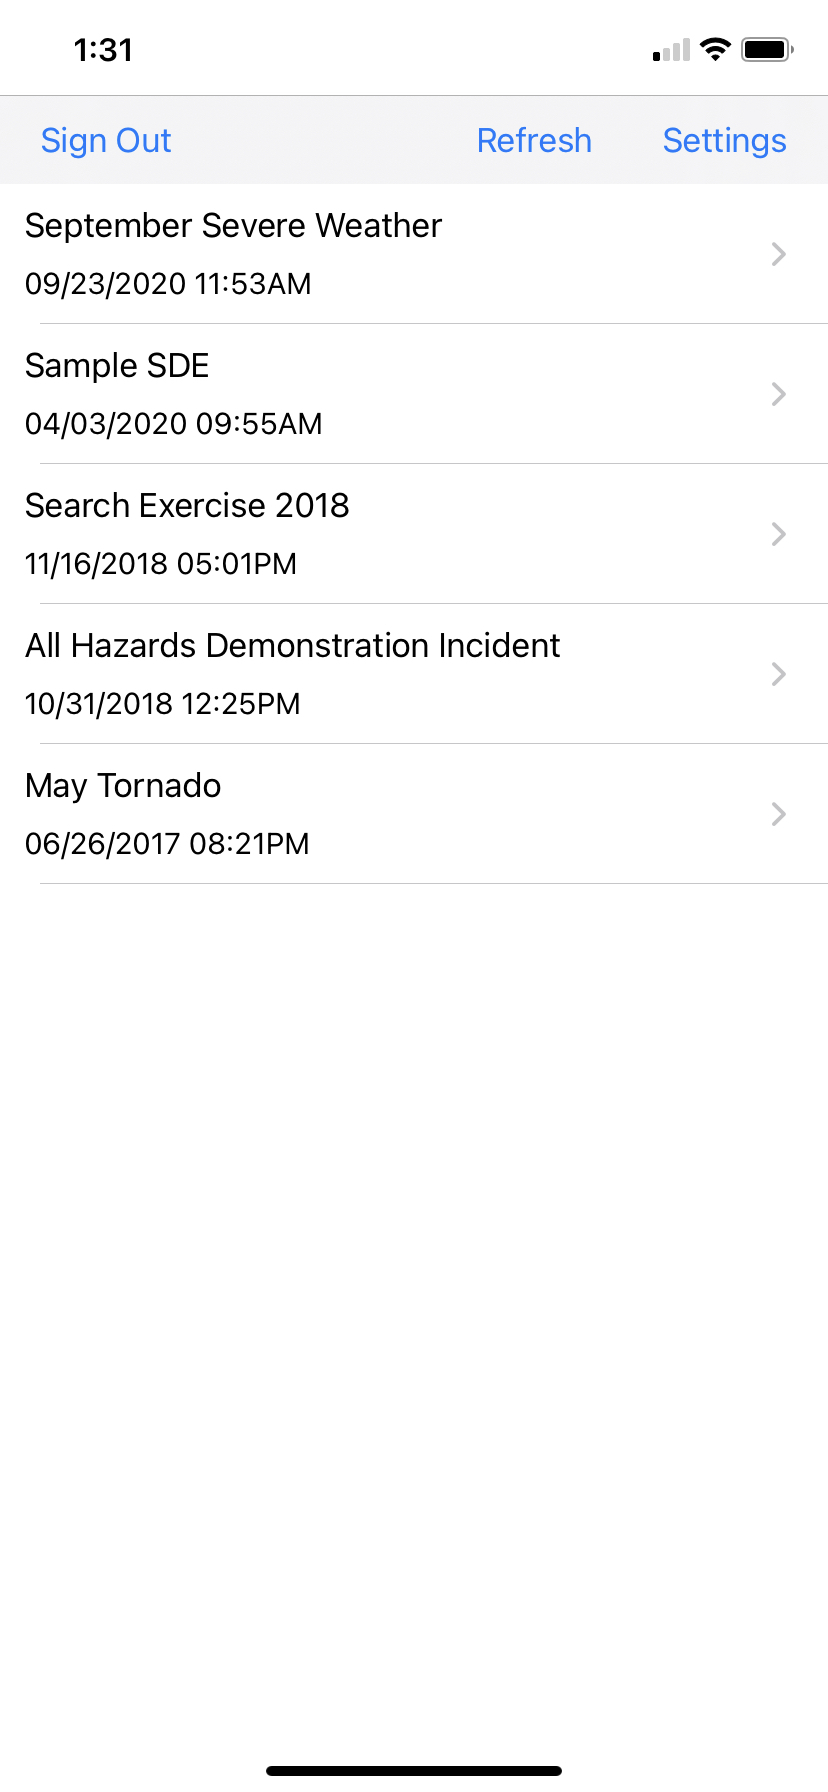
On the Incident home screen, you can also choose to edit settings or logout. For more information about editing settings, refer to Settings.
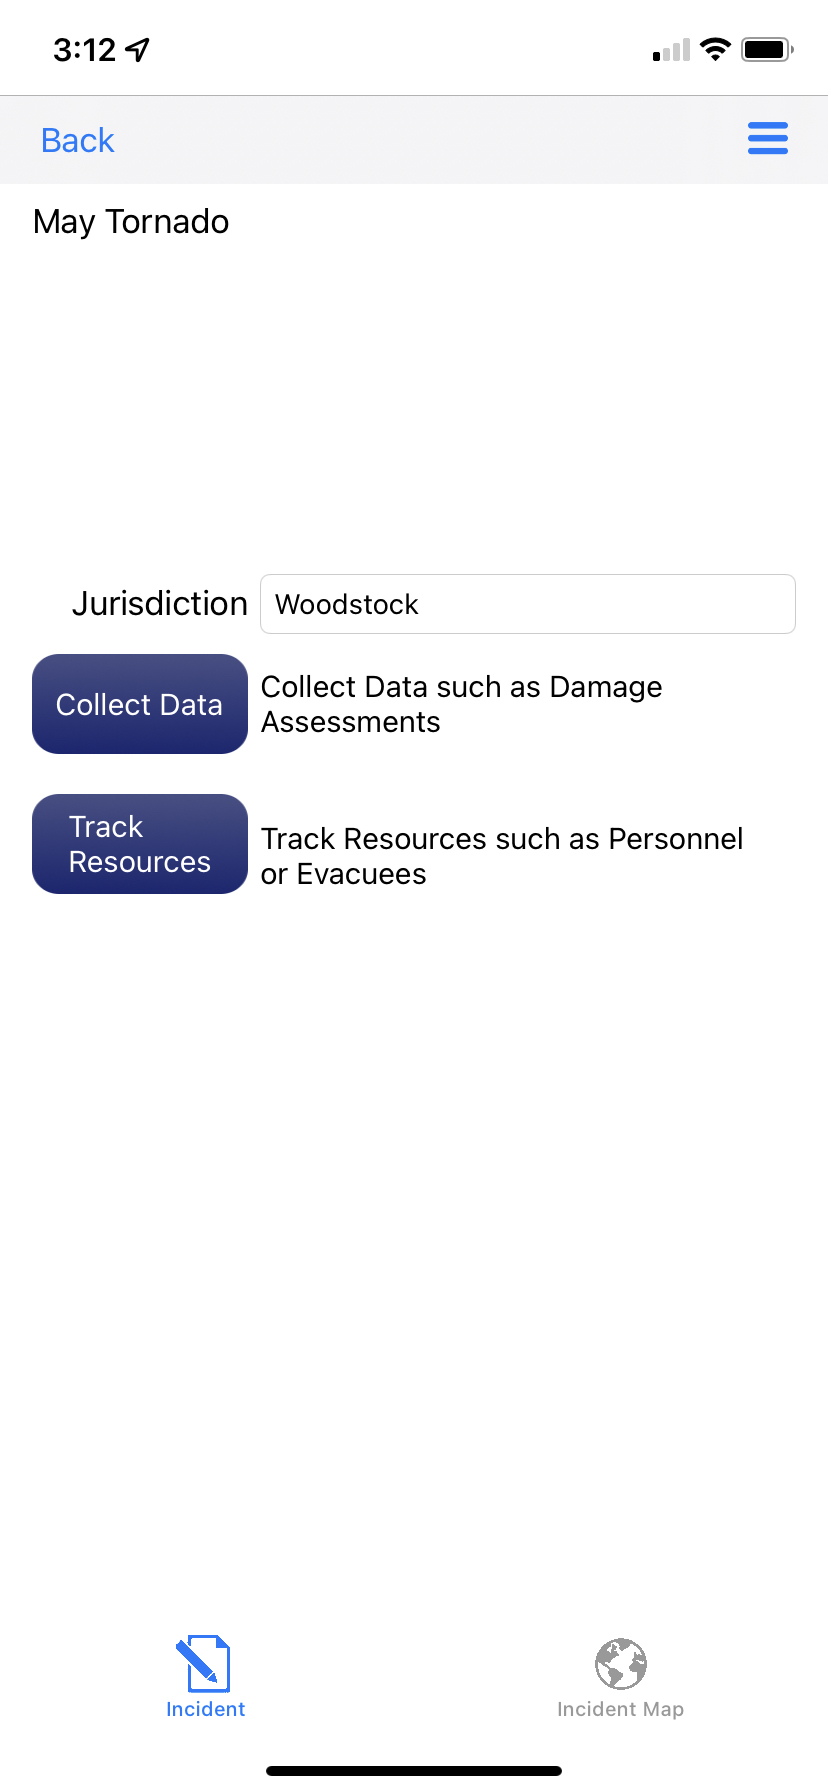
After choosing an incident, tap the Collect Data button. This will initiate the team and task selection process so that you can collect data for assessments that has been assigned to you. For more information on data collection forms, refer to Collecting Data.
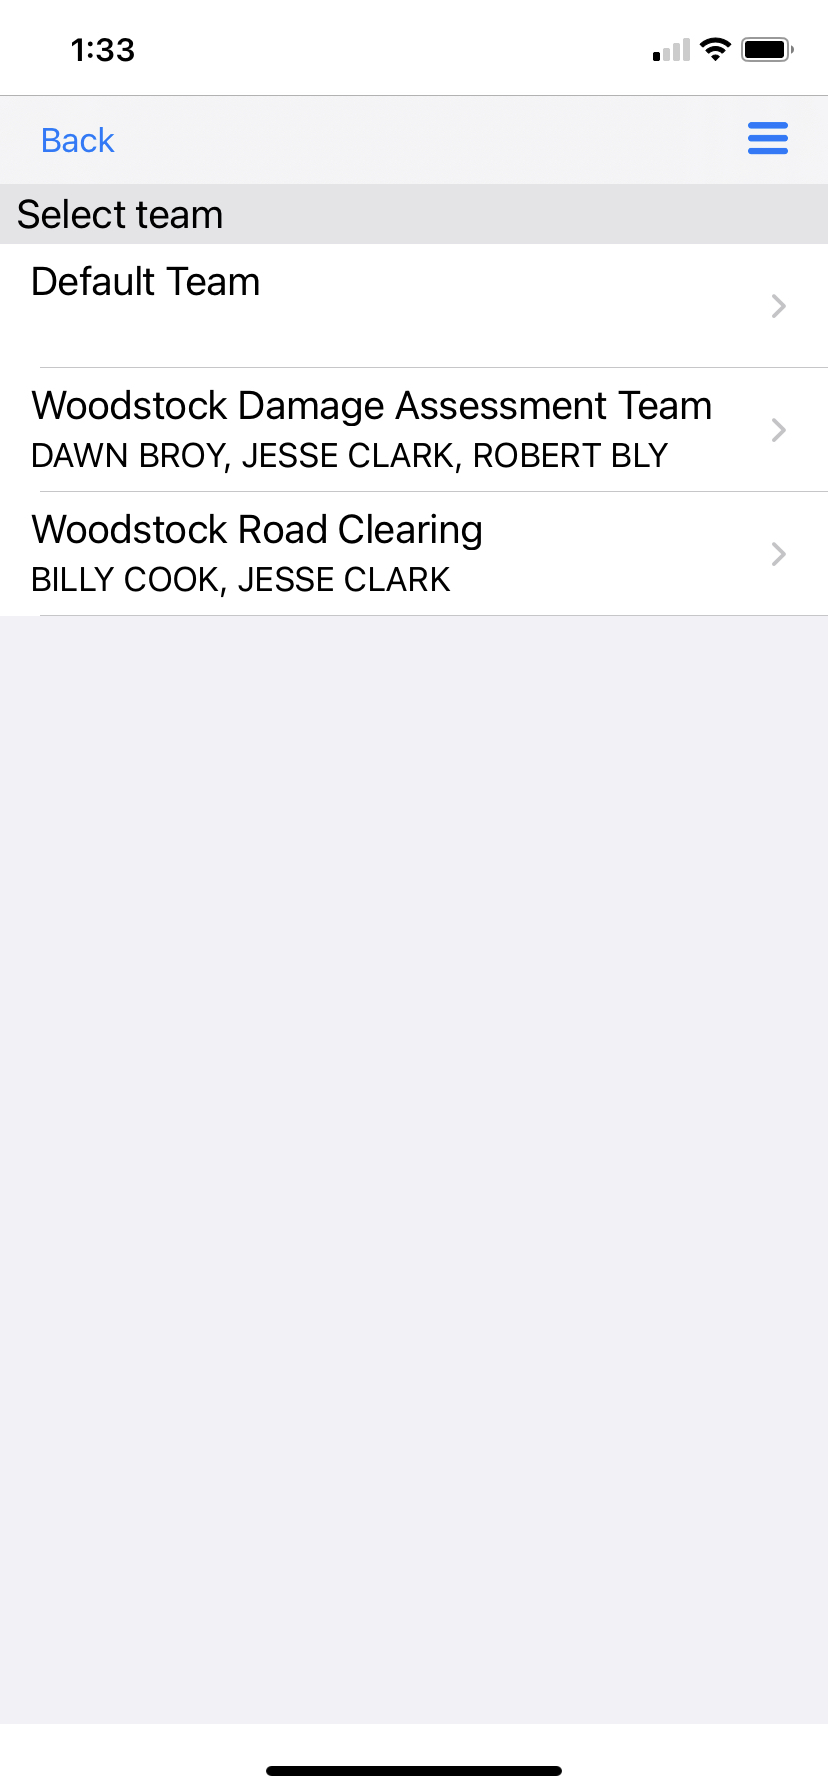
Next, choose the Team to which you belong. You may belong to more than one team; ensure you know which team you should currently be working with, as your team dictates to which tasks you have access.
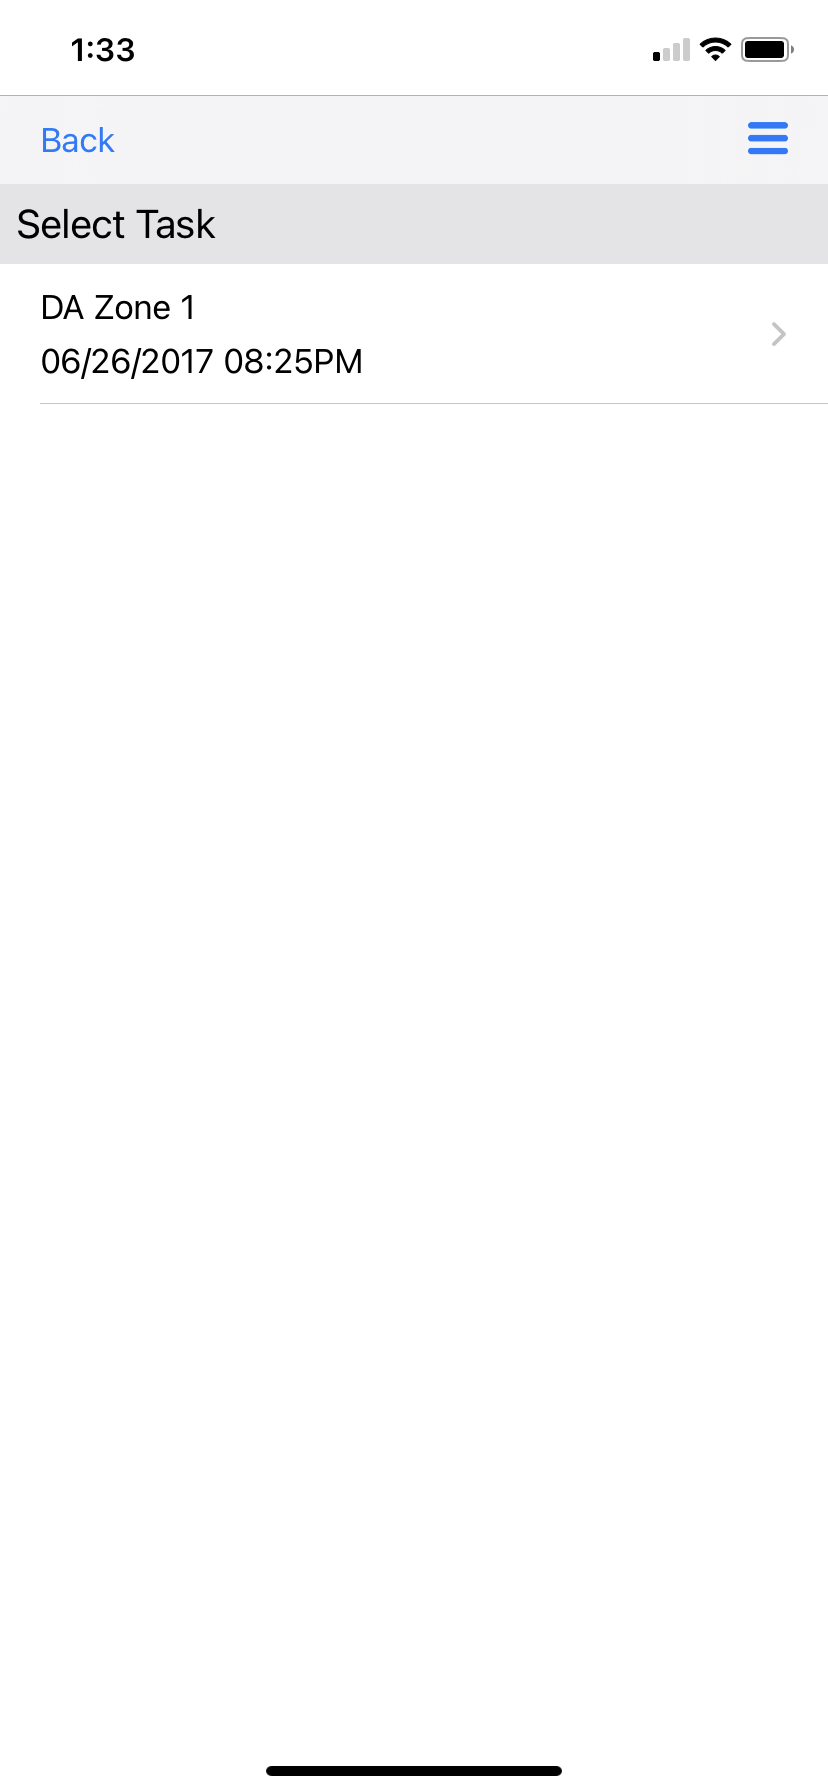
After choosing a team, your next step is to choose the Task you will begin working. Tasks contain entries, which may be structure assessments, documenting road closures, or other activities.
Tasks will likely be created to encompass an area or the type of work to be done. If you need to create a new blank task, then you can do so by tapping the actions button ![]() in the upper right corner of your device. For most users, your tasks have already been created.
in the upper right corner of your device. For most users, your tasks have already been created.
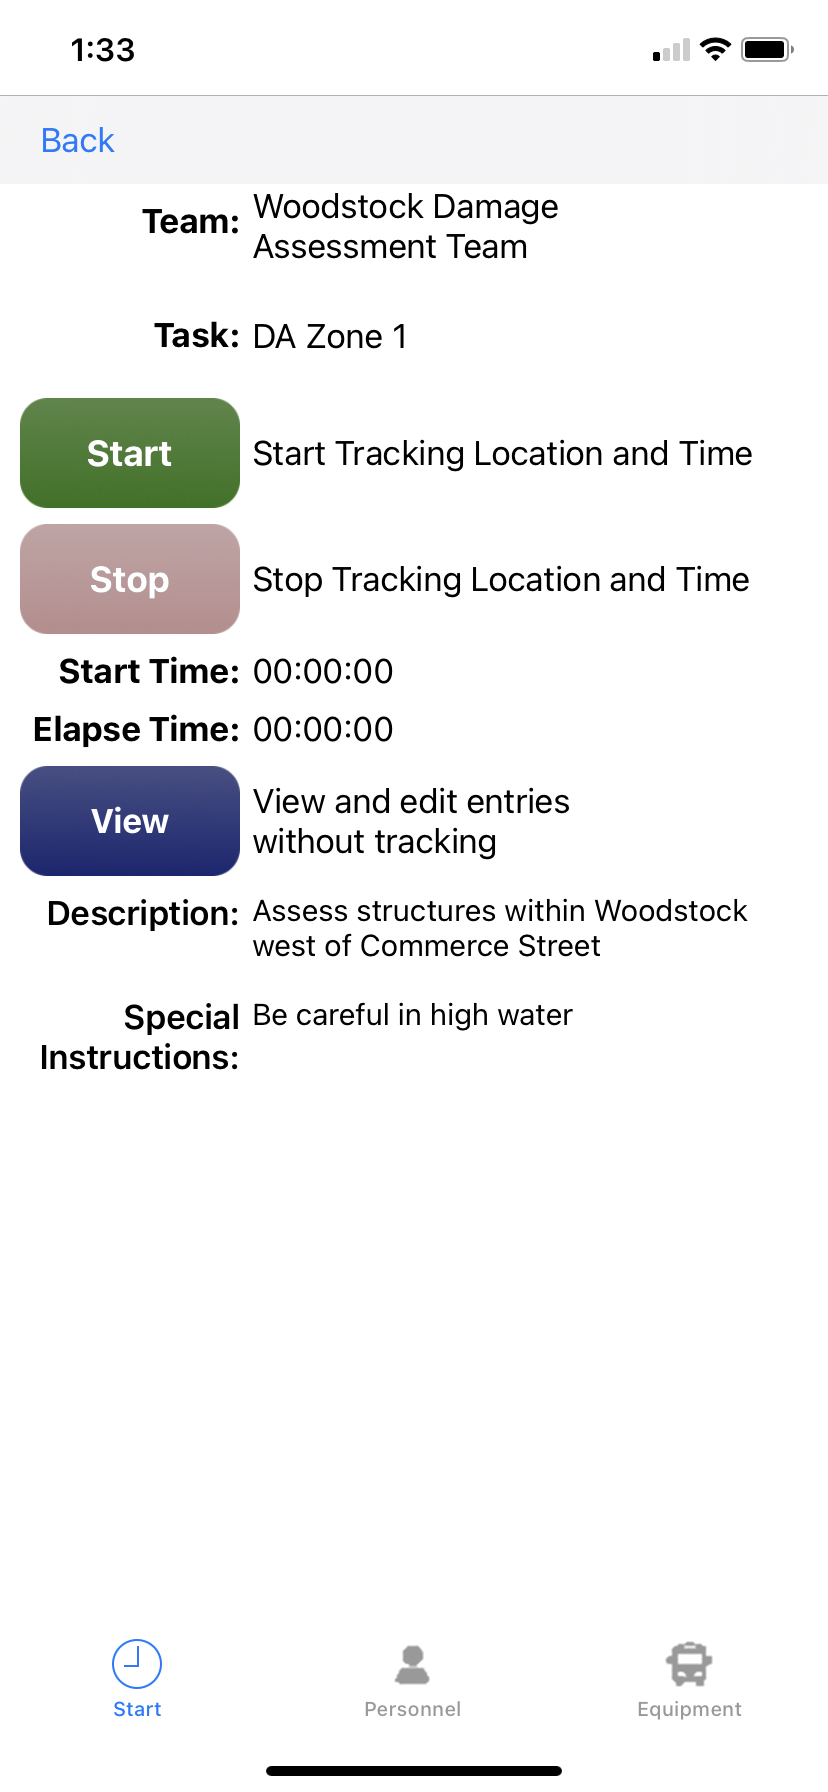
Once you select a task, the task details screen will display. At the top of the screen there are tabs for Start, Personnel and Equipment. Here, you can start or stop your task timer, edit who is assigned to the team, and edit what equipment is assigned to the team.
Once you've chosen a task and made any necessary changes to your personnel and equipment lists, you need to clock in.
This is a method for tracking hours that personnel and equipment were activated as part of a recovery effort. Clicking the Start button begins tracking time for your team and for the equipment assigned to your team, and begins GPS tracking of your device. Tap Stop at any time to clock out after finishing work on this task. If you will be working on a different task, you need to clock in to that task instead.
Clicking Start or Continue (if you're on this screen but already clocked in) displays the next screen.
Click View, if you would prefer to view the Entries in the task without starting time and GPS tracking.
Now that you've chosen an incident, picked your team and clocked into a task, you're ready to begin working with the task.
There are several things you can do inside of a task. The various screens are accessed by tapping one of the three tabs at the top of the screen:
-
Entries: the list view of all entries assigned to the task. For more information, refer to the Task Entries page.
-
Map: the entries assigned to this task displayed in a map view. For more information, refer to the Task Map page.
-
Stats: the status of the entries assigned to the task. This is for tracking how many entries have been assigned, completed, or saved locally. You can also view stats on various fields, for example, the extent of damage, debris cost, type of damage, and so on. For more information, refer to the Task Stats page.
Clicking an entry inside of a task using either the list view or the map view reveals the details of that entry.
There are several things you can do inside of an entry. The various screens are accessed by tapping one of the four tabs at the top of the screen:
-
Form: select and enter information into a specific form for the entry, including the form status. For more information, refer to the Entry Form page.
-
Map: view the entry on a map or update the entry map location. For more information, refer to the Entry Map page.
-
Photos: take photos to accompany the entry documentation. For more information, refer to the Entry Photos page.
-
Save: after making any changes to the entry details on the other three tabs, save your changes on this tab. For more information, refer to the Save an Entry page.
Once you've finished assessing all entries in your task, close out of the entries list and click Stop to clock out.